【Typescript】Next.js + MDXでブログ開発
はじめに
Next.jsとMarkdown(MDX)を使ってブログを作成する方法を紹介します。
本ブログもNext.jsとMDXを使って作成しています。また、本ブログを元にしたサンプルリポジトリも作成していますので、実際にどのように使っているのか参考になれば幸いです。
GitHub - monda00/next-app-router-mdx-blog: This is a sample blog application using Next.js with App Router with next-mdx-remote.
This is a sample blog application using Next.js with App Router with next-mdx-remote. - monda00/next-app-router-mdx-blog
ここでのNext.jsはApp Routerを使っていることを前提にしています。
Next.jsとMDXでブログ開発
Next.jsとMarkdown(MDX)を使ってブログを作成する場合、MarkdownをHTMLに変換するライブラリが必要になります。
next-mdx-remote
next-mdx-remoteは、MDXファイルを読み込み、HTMLに変換してくれるライブラリです。
GitHub - hashicorp/next-mdx-remote: Load MDX content from anywhere
Load MDX content from anywhere. Contribute to hashicorp/next-mdx-remote development by creating an account on GitHub.
Next.jsでは、@next/mdxというパッケージを用意していますが、このパッケージを使う場合、MDXファイルをapp/ディレクトリに配置する必要があります。
1.
2├── app
3│   └── my-mdx-page
4│       └── page.mdx
5└── package.jsonブログの記事数が増えてくるとapp/ディレクトリが肥大化してしまうため、MDXファイルを他のディレクトリに配置できるnext-mdx-remoteを使いたいと思います。
contentlayerについて
Next.jsとMarkdownでブログを作成する場合、contentlayerも人気のライブラリです。
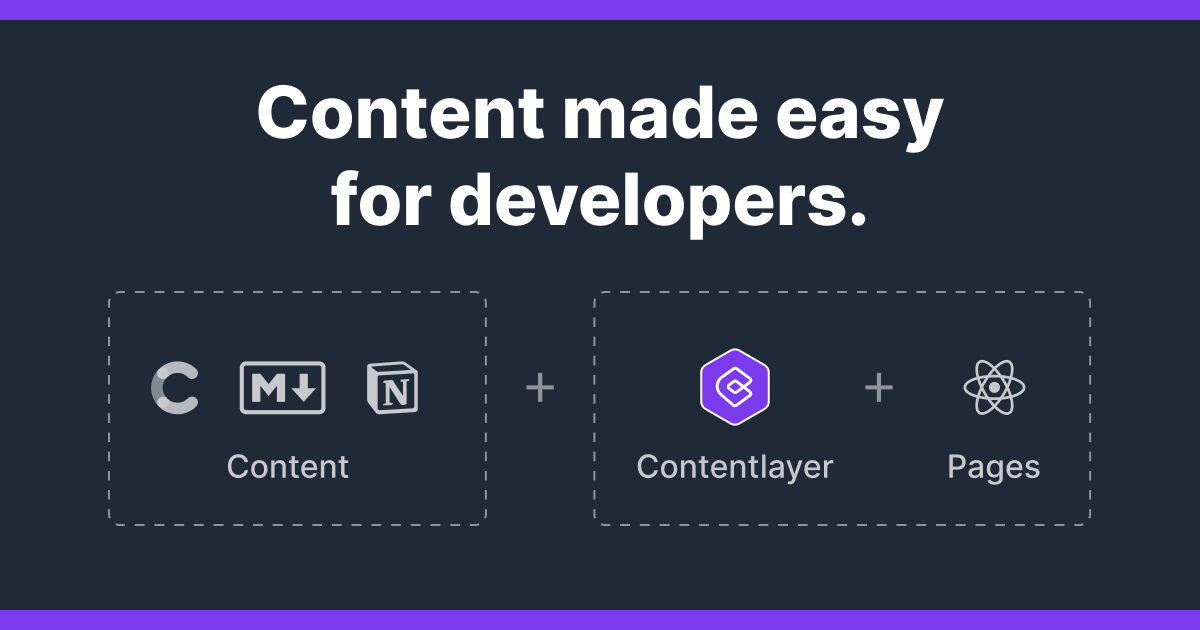
Contentlayer makes content easy for developers
Contentlayer is a content SDK that validates and transforms your content into type-safe JSON data you can easily import into your application.
ただ、2024/03現在、contentlayerはメンテナンスされていないようなので、今回は使うのを見送りました。もう少しでメンテナンスされるようになるかもしれないみたいなIssueもあったので、メンテナンスされるようになったら使ってみようかと思います。
State of the project · Issue #429 · contentlayerdev/contentlayer
Hello Contentlayer community, I wanted to share an update regarding the ongoing maintenance of Contentlayer. I am committed to the project and will continue to work on it, aiming for monthly releas...
Proposal to become a maintainer for Contentlayer · Issue #651 · contentlayerdev/contentlayer
Hi! I've spoken with schickling late last year about continuing to support Contentlayer. Initially I suggested forking the project and there was some interest amongst the community on Discord. Schi...
Next.jsアプリの作成
まずは、Next.jsアプリを作成します。
1npx create-next-app@latestnext-mdx-remoteでMDXファイルを読み込む
next-mdx-remoteを使ってMDXファイルを読み込んでいきます。
ライブラリのインストール
まずは、next-mdx-remoteとgray-matterをインストールします。gray-matterは、MDXファイルのメタデータを取得するためのライブラリです。
1npm install next-mdx-remote gray-matterMDXファイルの作成
サンプル記事として、contents/posts/sample-post.mdxを作成します。上部にメタデータを記述し、タイトルとカテゴリを設定しています。
1---
2title: Sample Post
3category: nextjs
4---
5
6## Paragraph
7
8This is a paragraph.
9
10## List
11
12- item 1
13- item 2
14- item 3
15
16## Table
17
18| Name  | Age |
19| ----- | --- |
20| Alice | 20  |
21| Bob   | 25  |
22| Carol | 30  |
23
24## Quote
25
26> This is a quote.
27
28## Task List
29
30- [x] task 1
31- [ ] task 2
32- [ ] task 3
MDXを読み込む関数の作成
libs/post.tsに、MDXファイルのファイル名(slug)とファイルの中身を読み込む関数を作成します。
1import { readFileSync, readdirSync } from "fs";
2import path from "path";
3import matter from "gray-matter";
4
5// MDXファイルのディレクトリ
6const POSTS_PATH = path.join(process.cwd(), "contents/posts");
7
8// ファイル名(slug)の一覧を取得
9export function GetAllPostSlugs() {
10  const postFilePaths = readdirSync(POSTS_PATH).filter((path) =>
11    /\.mdx?$/.test(path)
12  );
13  return postFilePaths.map((path) => {
14    const slug = path.replace(/\.mdx?$/, "");
15    return slug;
16  });
17}
18
19// slugからファイルの中身を取得
20export function GetPostBySlug(slug: string) {
21  const markdown = readFileSync(`contents/posts/${slug}.mdx`, "utf8");
22
23  const { content, data } = matter(markdown);
24  return {
25    content,
26    data,
27  };
28}
MDXファイルを表示するページの作成
記事を表示するページapp/post/[...slug]/page.tsxを作成します。
MDXを読み込み、gray-matterを使ってメタデータを取得して、titleとcategoryを表示しています。また、MDXRemoteコンポーネントにMDXファイルの内容を渡して表示します。
1import { GetAllPostSlugs, GetPostBySlug } from "@/libs/post";
2import { MDXRemote } from "next-mdx-remote/rsc";
3
4interface PostPageProps {
5  params: {
6    slug: string;
7  };
8}
9
10export async function generateStaticParams() {
11  const slugs = GetAllPostSlugs();
12  return slugs.map((slug) => ({ params: { slug } }));
13}
14
15export default async function PostPage({ params }: PostPageProps) {
16  const { content, data } = GetPostBySlug(params.slug);
17
18  return (
19    <div>
20      <h1>{data.title}</h1>
21      <p>{data.category}</p>
22      <div>
23        <MDXRemote source={content} />
24      </div>
25    </div>
26  );
27}
実行して確認
npm run devでアプリを起動して、http://localhost:3000/post/sample-postにアクセスして記事が表示されることを確認します。
1npm run dev見た目はあれですが、とりあえずMDXファイルを読み込んでHTMLに変換して表示できるようになりました。

Github Flavored Markdownでスタイリング
今のままだと、Github Flavored Markdown(GFM)の記法が正しくHTMLに変換されません。GFMも正しくHTMLに変換されるように、remark-gfmをインストールします。
しかし、next-mdx-remoteのバージョン4.4.1では、remark-gfmのバージョン4.0.0を使うと下記のようなエラーが発生します。
1Cannot set properties of undefined (setting 'inTable')そのため、remark-gfmのバージョンを3.0.1に指定してインストールします。
1npm install [email protected]next-mdx-remoteのバージョン5からは、remark-gfmのバージョン4.0.0を使うことができるようになるみたいです。
Breaks with latest version of remark-gfm; unhelpful error message · Issue #403 · hashicorp/next-mdx-remote
I'm not really sure where to file this, but: I just started using next-mdx-remote, and everything was working fine until I added the remark-gfm plugin. This is the entire error I was getting, with ...
app/post/[...slug]/page.tsxにremark-gfmを追加します。
1import { GetAllPostSlugs, GetPostBySlug } from "@/libs/post";
2import { MDXRemote } from "next-mdx-remote/rsc";
3import remarkGfm from "remark-gfm";
4
5interface PostPageProps {
6  params: {
7    slug: string;
8  };
9}
10
11export async function generateStaticParams() {
12  const slugs = GetAllPostSlugs();
13  return slugs.map((slug) => ({ params: { slug } }));
14}
15
16export default async function PostPage({ params }: PostPageProps) {
17  const options = {
18    mdxOptions: {
19      remarkPlugins: [remarkGfm], // remark-gfmを追加
20    },
21  };
22  const { content, data } = GetPostBySlug(params.slug);
23
24  return (
25    <div>
26      <h1>{data.title}</h1>
27      <p>{data.category}</p>
28      <div>
29        <MDXRemote source={content} options={options} />
30      </div>
31    </div>
32  );
33}
これでGFMの記法が正しくHTMLに変換されるようになりました。

Tailwind CSSでスタイリング
最後に、Tailwind CSSのTypographyプラグインを使って少しだけスタイリングをしてみます。
まずは、@tailwindcss/typographyをインストールします。
1npm install -D @tailwindcss/typographytailwind.config.tsに@tailwindcss/typographyを追加します。
1import type { Config } from "tailwindcss";
2
3const config: Config = {
4  content: [
5    "./pages/**/*.{js,ts,jsx,tsx,mdx}",
6    "./components/**/*.{js,ts,jsx,tsx,mdx}",
7    "./app/**/*.{js,ts,jsx,tsx,mdx}",
8  ],
9  theme: {
10    extend: {
11      backgroundImage: {
12        "gradient-radial": "radial-gradient(var(--tw-gradient-stops))",
13        "gradient-conic":
14          "conic-gradient(from 180deg at 50% 50%, var(--tw-gradient-stops))",
15      },
16    },
17  },
18  plugins: [require("@tailwindcss/typography")], // 追加
19};
20export default config;最終的にapp/post/[...slug]/page.tsx、下記のようにproseクラスを追加して、Tailwind CSS Typographyのスタイルを適用します。
1import { GetAllPostSlugs, GetPostBySlug } from "@/libs/post";
2import { MDXRemote } from "next-mdx-remote/rsc";
3import remarkGfm from "remark-gfm";
4
5interface PostPageProps {
6  params: {
7    slug: string;
8  };
9}
10
11export async function generateStaticParams() {
12  const slugs = GetAllPostSlugs();
13  return slugs.map((slug) => ({ params: { slug } }));
14}
15
16export default async function PostPage({ params }: PostPageProps) {
17  const options = {
18    mdxOptions: {
19      remarkPlugins: [remarkGfm],
20    },
21  };
22  const { content, data } = GetPostBySlug(params.slug);
23
24  return (
25    <div>
26      <h1>{data.title}</h1>
27      <p>{data.category}</p>
28      <div className="prose">
29        <MDXRemote source={content} options={options} />
30      </div>
31    </div>
32  );
33}
Tailwind CSS Typographyのスタイルが適用されました。(global.cssにある背景色のスタイルは削除しています)

これで、ホームや記事一覧、スタイルなどを追加していけば、Next.jsとMDXを使ってブログを作成できるようになると思います。
参考
- Configuring: MDX | Next.js
- hashicorp/next-mdx-remote: Load mdx content from anywhere through getStaticProps in next.js
- tailwindlabs/tailwindcss-typography: Beautiful typographic defaults for HTML you don't control.
- jonschlinkert/gray-matter: Smarter YAML front matter parser, used by metalsmith, Gatsby, Netlify, Assemble, mapbox-gl, phenomic, vuejs vitepress, TinaCMS, Shopify Polaris, Ant Design, Astro, hashicorp, garden, slidev, saber, sourcegraph, and many others. Simple to use, and battle tested. Parses YAML by default but can also parse JSON Front Matter, Coffee Front Matter, TOML Front Matter, and has support for custom parsers. Please follow gray-matter's author: https://github.com/jonschlinkert
\ この記事が役に立ったと思ったら、サポートお願いします! /

関連記事

【Java】コマンドラインからSpring Bootを始める

Next.js+MarkdownのブログにTocbotを使って目次を作成する

seabornで複数のグラフを並べて描画する