はじめに
Next.jsとMarkdownを使用してブログを作成する場合に、Tocbotを使って目次を作成する方法を紹介します。
本記事の内容は、下記の記事で紹介しているNext.js(App Router)とMDX(next-mdx-remote)でブログを構築した内容を前提としています。
【Typescript】Next.js + MDXでブログ開発
はじめに Next.jsとMarkdown(MDX)を使ってブログを作成する方法を紹介します。
Tocbotとは
Tocbotとは、HTMLの見出しから目次を生成するライブラリです。
Zennなどでも使われており、簡単に目次が作成できるため、ブログなどでもよく使われているみたいです。
GitHub - tscanlin/tocbot: Build a table of contents from headings in an HTML document.
Build a table of contents from headings in an HTML document. - tscanlin/tocbot
実際にこのブログでもTocbotを使って目次を作成しています。
このブログのベースとなっているサンプルは下記を参考にしてください。
GitHub - monda00/next-app-router-mdx-blog: This is a sample blog application using Next.js with App Router with next-mdx-remote.
This is a sample blog application using Next.js with App Router with next-mdx-remote. - monda00/next-app-router-mdx-blog
目次作成
まずは、とりあえずTocbotを使って目次を作成してみます。
インストール
Tocbotと、目次のリンクで使うidを生成するためのrehype-slugをインストールします。
1npm install tocbot rehype-slugrehype-slugの設定
rehype-slugを使って、見出しにidが付与されるように設定します。記事自体のスタイルもTailwind CSSで軽く整えています。また、記事の内容部分にpostクラスを追加しています。
1import { GetAllPostSlugs, GetPostBySlug } from "@/libs/post";
2import { MDXRemote } from "next-mdx-remote/rsc";
3import remarkGfm from "remark-gfm";
4import rehypeSlug from "rehype-slug"; // rehype-slugを追加
5
6interface PostPageProps {
7  params: {
8    slug: string;
9  };
10}
11
12export async function generateStaticParams() {
13  const slugs = GetAllPostSlugs();
14  return slugs.map((slug) => ({ params: { slug } }));
15}
16
17export default async function PostPage({ params }: PostPageProps) {
18  const options = {
19    mdxOptions: {
20      remarkPlugins: [remarkGfm],
21      rehypePlugins: [rehypeSlug], // rehype-slugを追加
22    },
23  };
24  const { content, data } = GetPostBySlug(params.slug);
25
26  return (
27    <div>
28      <div className="prose flex justify-center mx-auto p-8">
29        <div className="w-9/12">
30          <h1 className="flex justify-center mt-8">{data.title}</h1>
31          <div className="post bg-gray-100 p-8"> {/* postクラスを追加 */}
32            <MDXRemote source={content} options={options} />
33          </div>
34        </div>
35        <div className="w-3/12">{/* 目次 */}</div>
36      </div>
37    </div>
38  );
39}
Tocbotのコンポーネントを作成
目次を表示するコンポーネントを作成します。
1"use client";
2
3import React, { useEffect } from "react";
4import tocbot from "tocbot";
5
6function Toc() {
7  useEffect(() => {
8    // Tocbotの初期化
9    tocbot.init({
10      tocSelector: ".toc", // 目次の表示部分のクラス
11      contentSelector: ".post", // 目次を生成する対象のクラス
12      headingSelector: "h2, h3", // 目次に表示する見出しのタグ
13    });
14
15    // コンポーネントがアンマウントされたときにTocbotを破棄
16    return () => tocbot.destroy();
17  }, []);
18
19  return (
20    <div className="sticky top-0 pt-16 ml-8">
21      <h2 className="text-xl border-l-4 border-secondary pl-1">ToC</h2>
22      <div className="toc px-0 pb-8 text-base"></div> {/* 目次の表示部分 */}
23    </div>
24  );
25}
26
27export default Toc;
記事の横に目次が表示されるように、Tocコンポーネントを追加します。
1import { GetAllPostSlugs, GetPostBySlug } from "@/libs/post";
2import { MDXRemote } from "next-mdx-remote/rsc";
3import remarkGfm from "remark-gfm";
4import rehypeSlug from "rehype-slug";
5import Toc from "@/components/toc"; // Tocコンポーネントを追加
6
7interface PostPageProps {
8 params: {
9 slug: string;
10 };
11}
12
13export async function generateStaticParams() {
14 const slugs = GetAllPostSlugs();
15 return slugs.map((slug) => ({ params: { slug } }));
16}
17
18export default async function PostPage({ params }: PostPageProps) {
19 const options = {
20 mdxOptions: {
21 remarkPlugins: [remarkGfm],
22 rehypePlugins: [rehypeSlug],
23 },
24 };
25 const { content, data } = GetPostBySlug(params.slug);
26
27 return (
28 <div>
29 <div className="prose flex justify-center mx-auto p-8">
30 <div className="w-9/12">
31 <h1 className="flex justify-center mt-8">{data.title}</h1>
32 <div className="post bg-gray-100 p-8">
33 <MDXRemote source={content} options={options} />
34 </div>
35 </div>
36 <div className="w-3/12">
37 <Toc /> {/* Tocコンポーネントを追加 */}
38 </div>
39 </div>
40 </div>
41 );
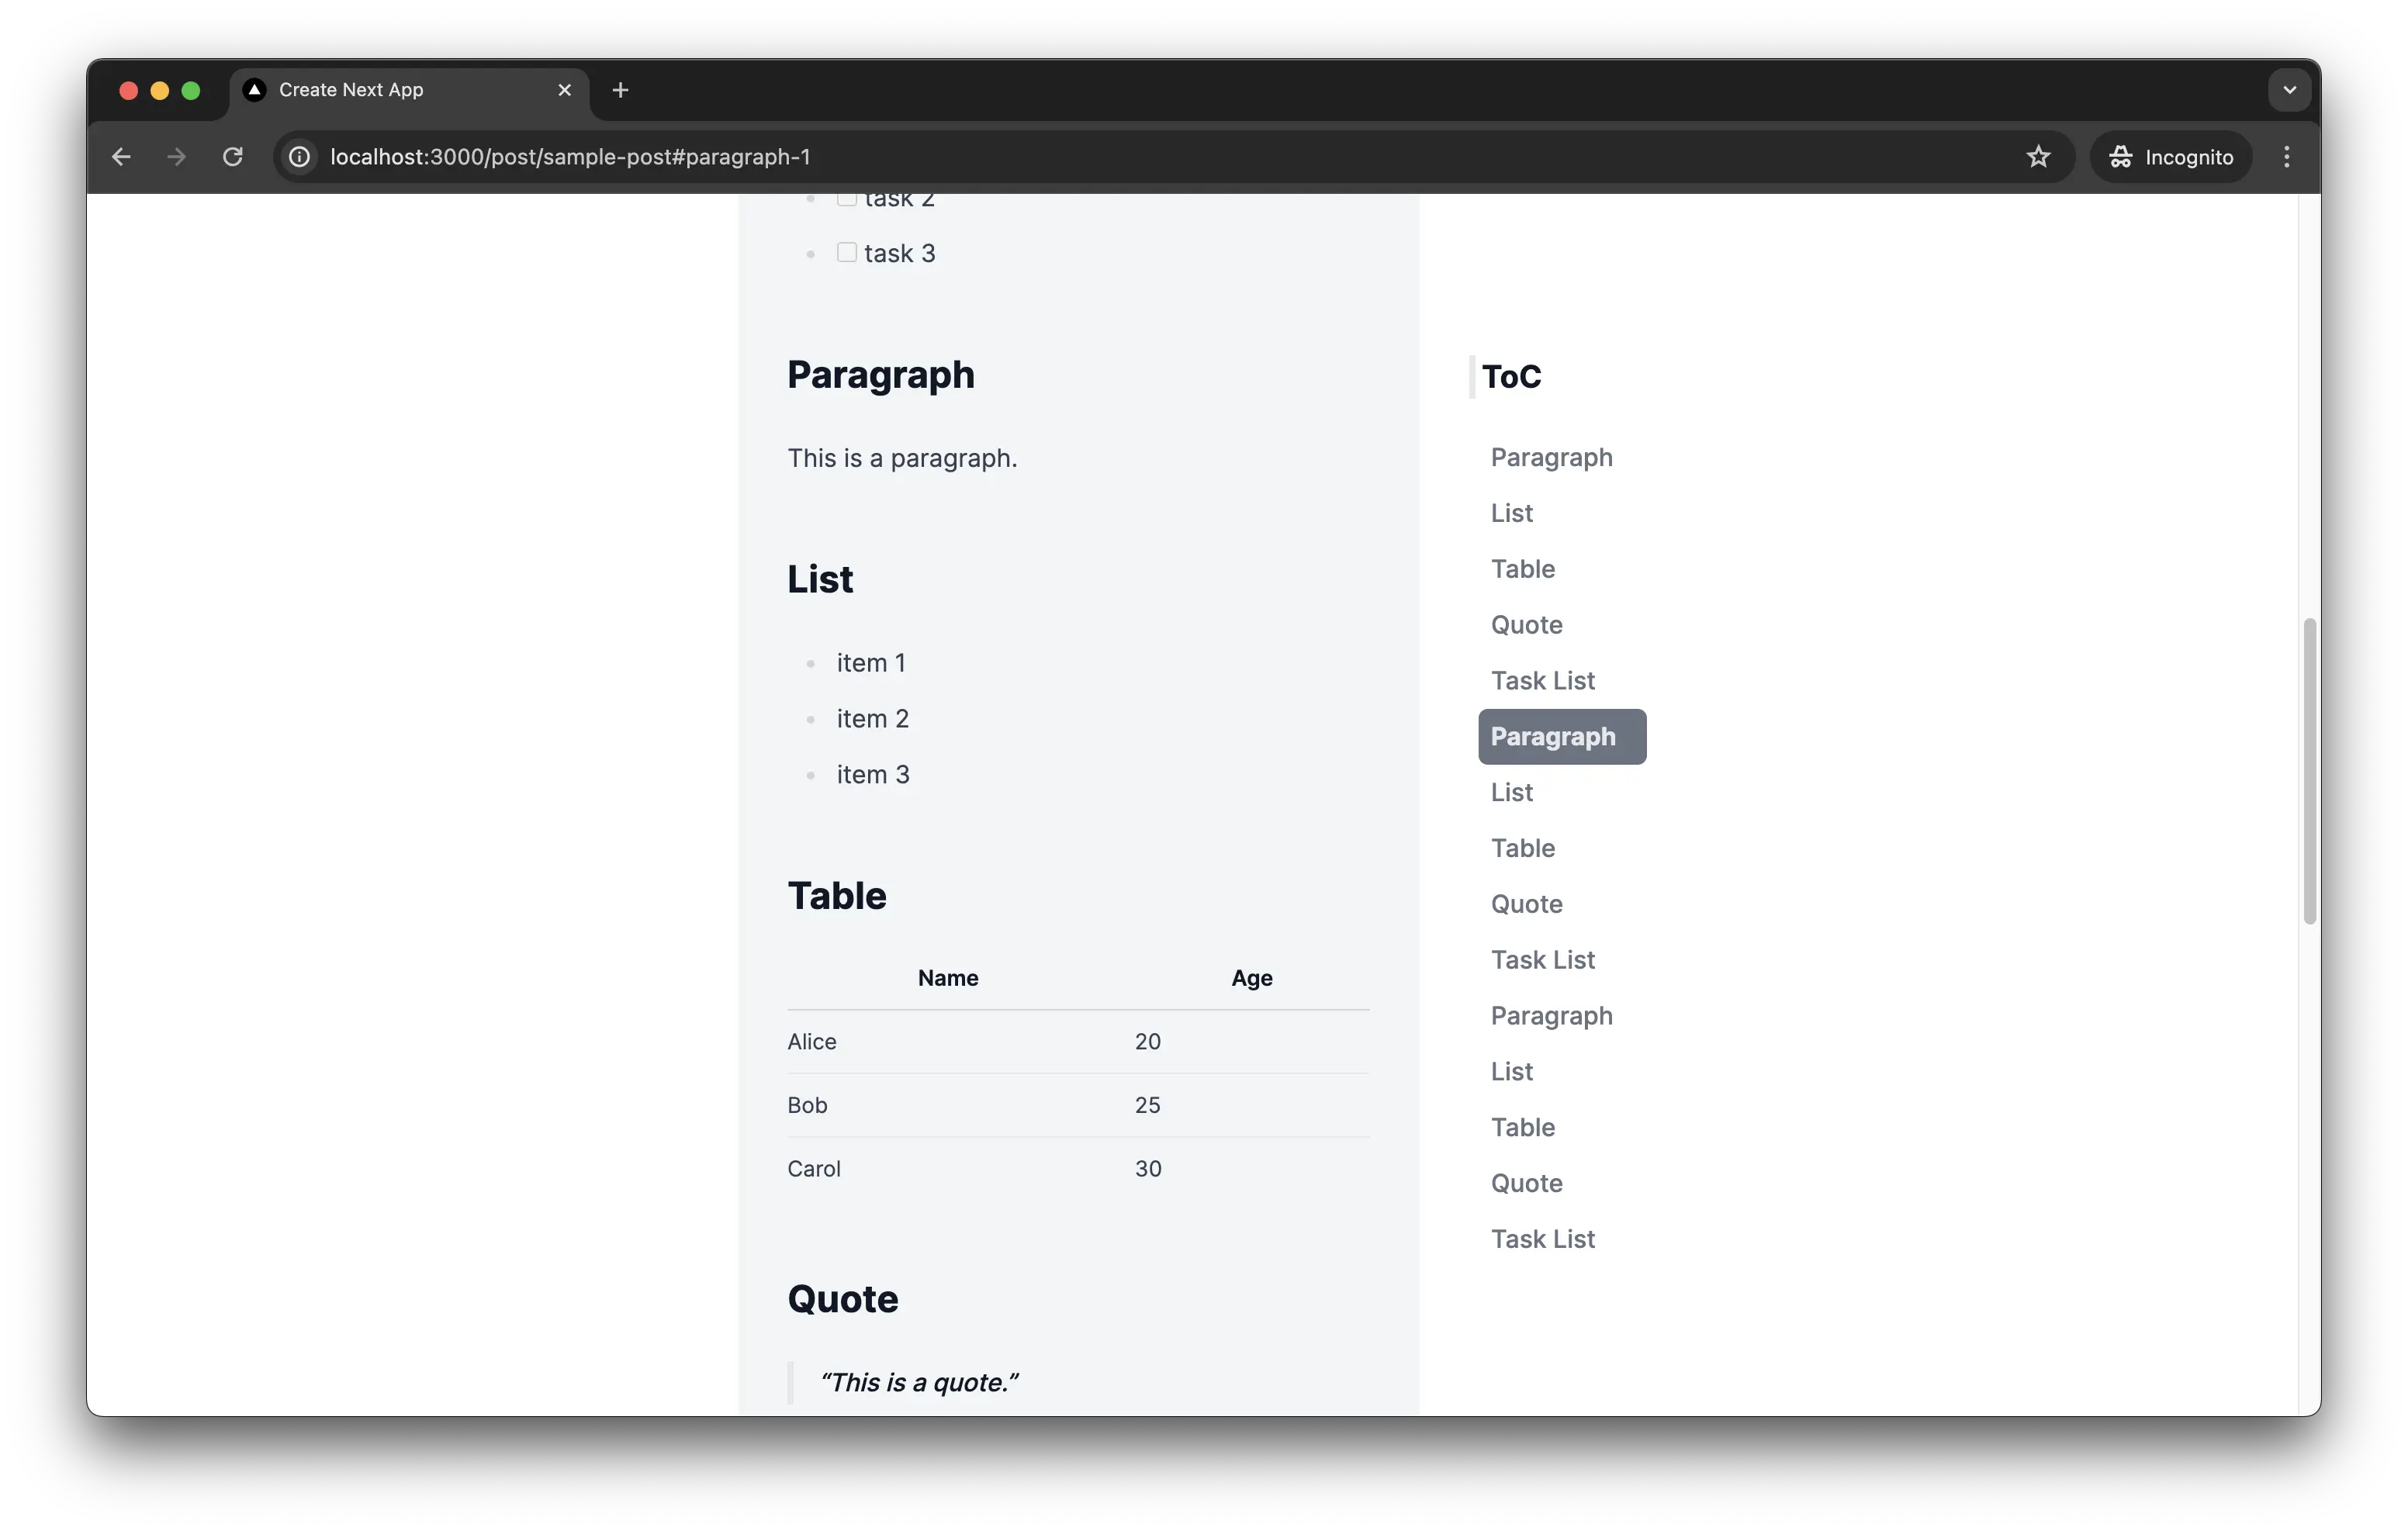
42}これで実行してみると、目次が表示されるようになります。
1npm run dev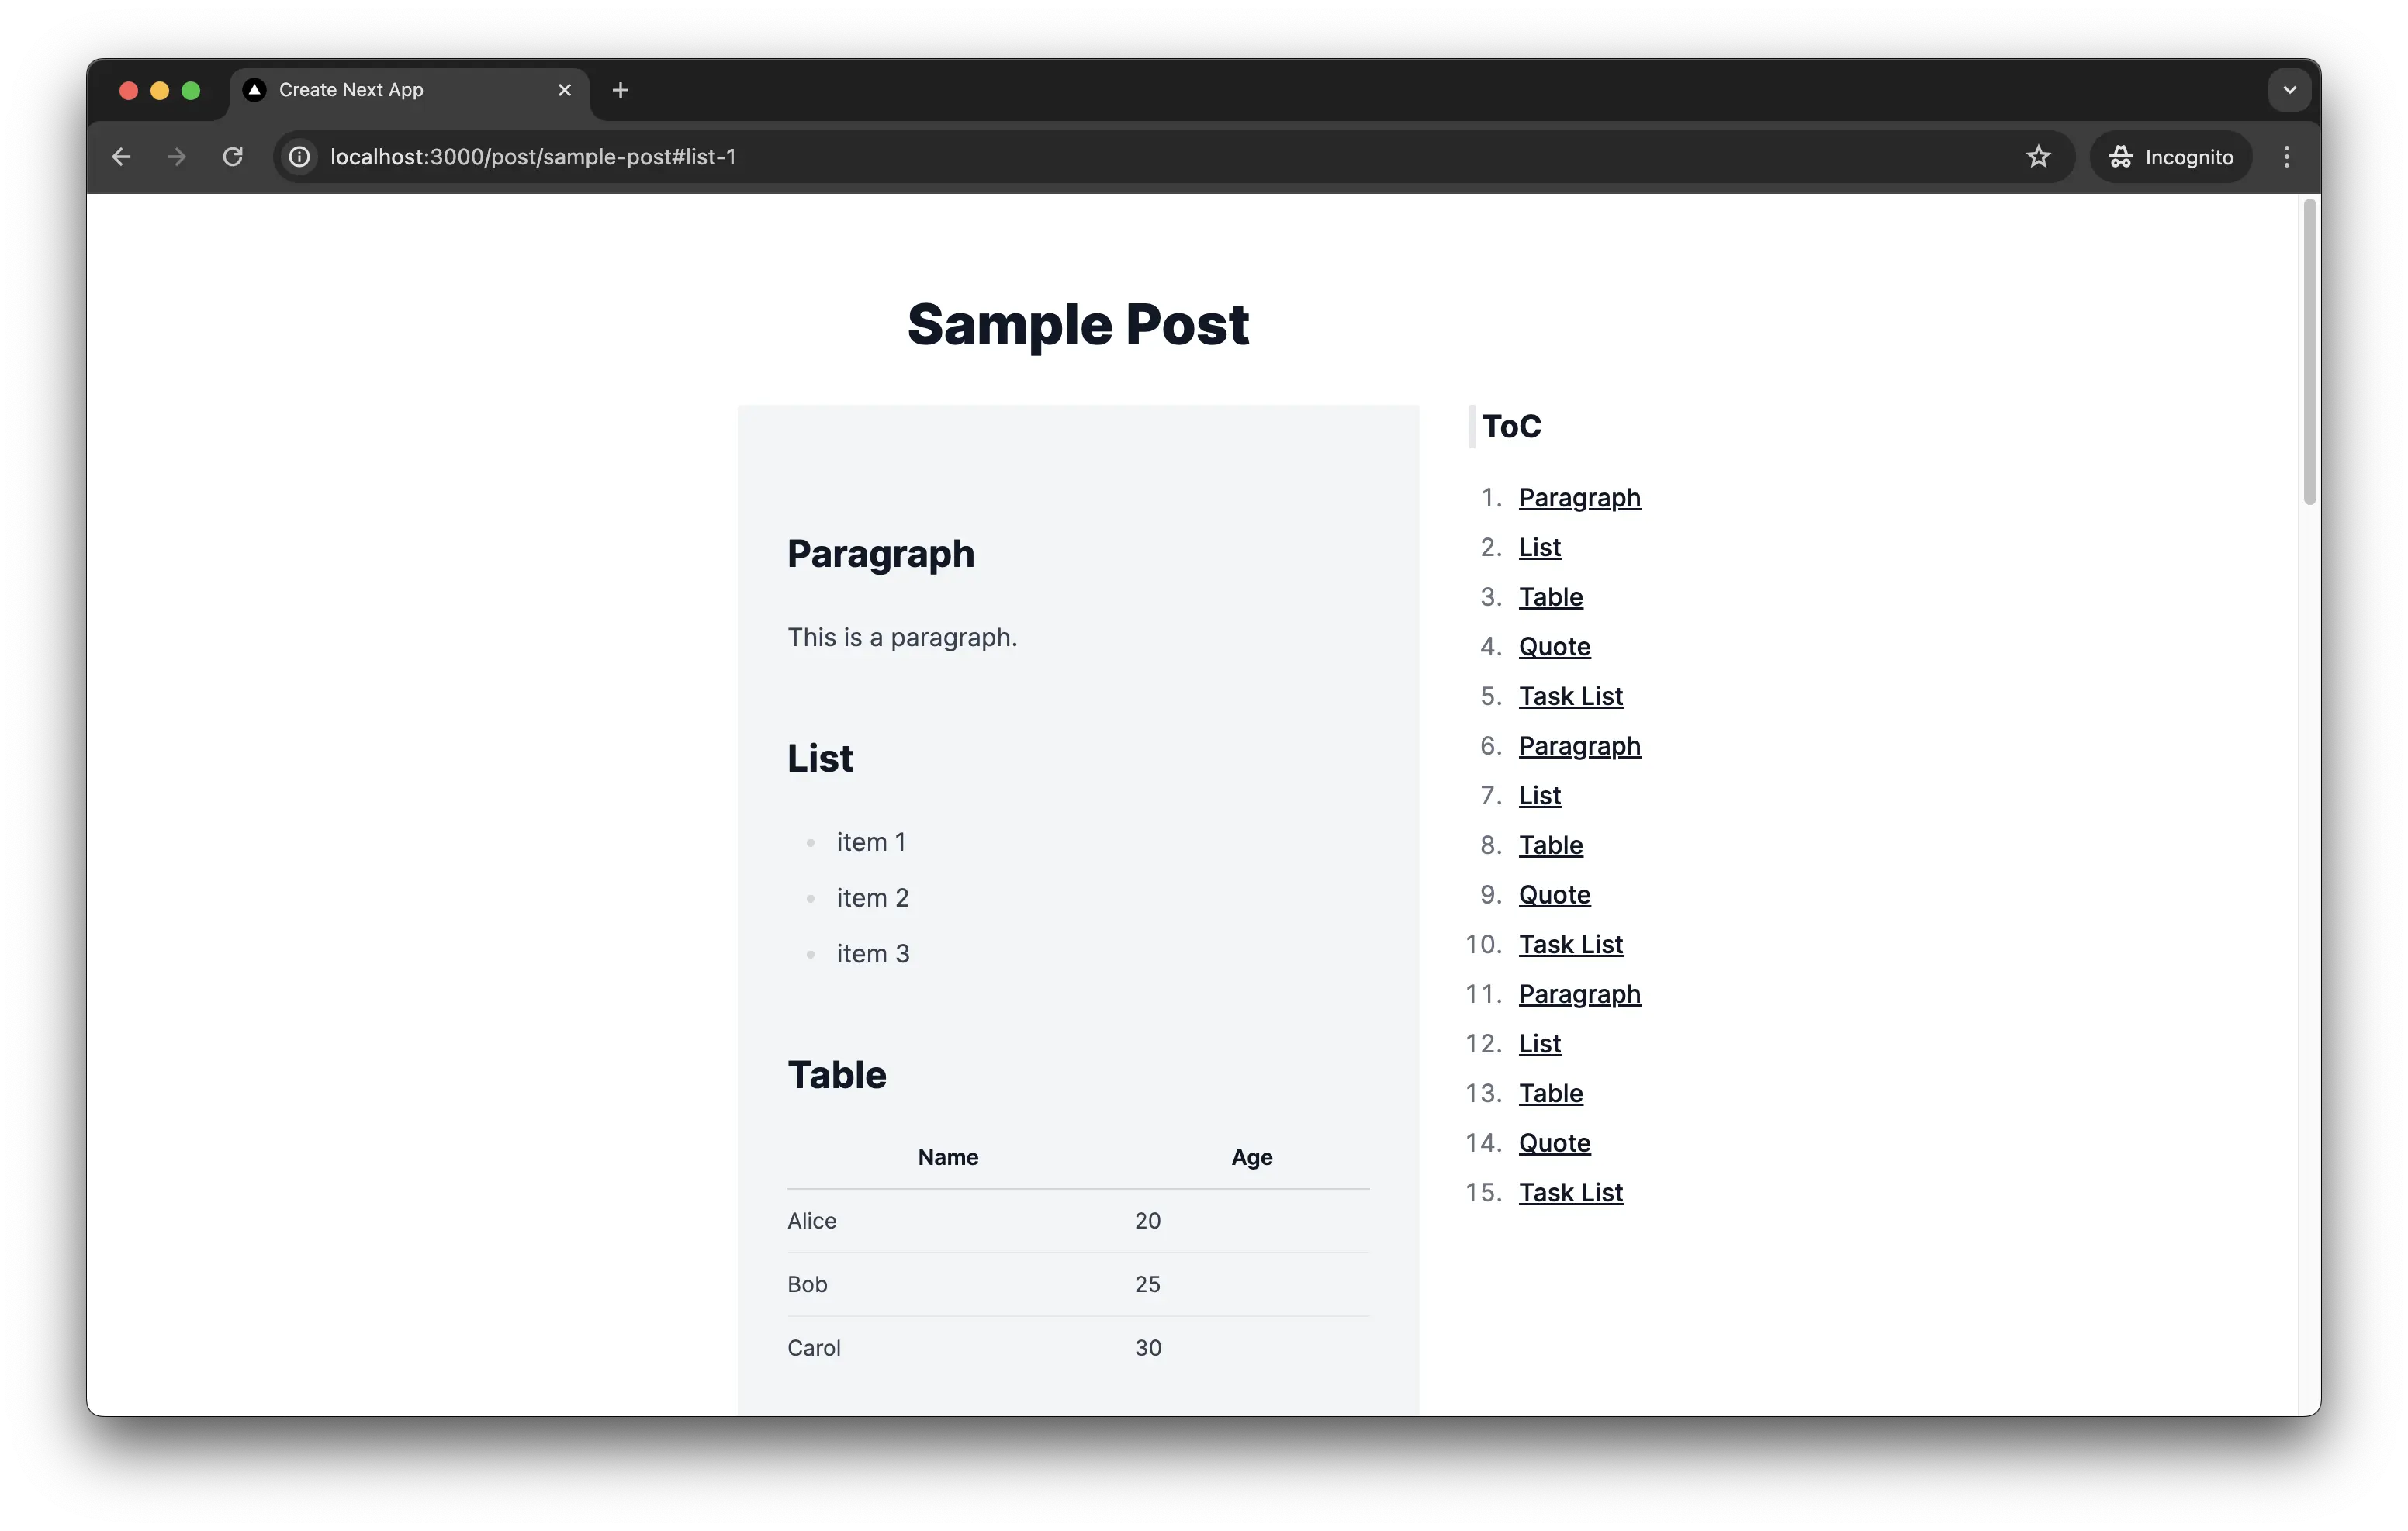
目次をクリックすると、スクロールできるようになっています。また、sticky top-0で固定しているため、スクロールしても目次が画面上部に表示されるようになっています。
設定
Tocbotの設定を変更してみます。
デフォルトの設定は下記から確認できます。目次のリストやアクティブになっているクラスなどを変更できます。
GitHub - tscanlin/tocbot: Build a table of contents from headings in an HTML document.
Build a table of contents from headings in an HTML document. - tscanlin/tocbot
今回は、scrollSmoothOffsetとheadingsOffsetを設定して、スクロールしたときの位置を調整してみます。こちらは固定のヘッダーがある場合や、目次をクリックしてスクロールした時に位置の調整がしたい場合に使える設定です。
1"use client";
2
3import React, { useEffect } from "react";
4import tocbot from "tocbot";
5
6function Toc() {
7 useEffect(() => {
8 tocbot.init({
9 tocSelector: ".toc",
10 contentSelector: ".post",
11 headingSelector: "h2, h3",
12 // ヘッダーのオフセットを設定して、スクロールしたときの位置を調整
13 scrollSmoothOffset: -100,
14 headingsOffset: 100,
15 });
16
17 return () => tocbot.destroy();
18 }, []);
19
20 return (
21 <div className="sticky top-0 pt-16 ml-8">
22 <h2 className="text-xl border-l-4 border-secondary pl-1">ToC</h2>
23 <div className="toc px-0 pb-8 text-base"></div>
24 </div>
25 );
26}
27
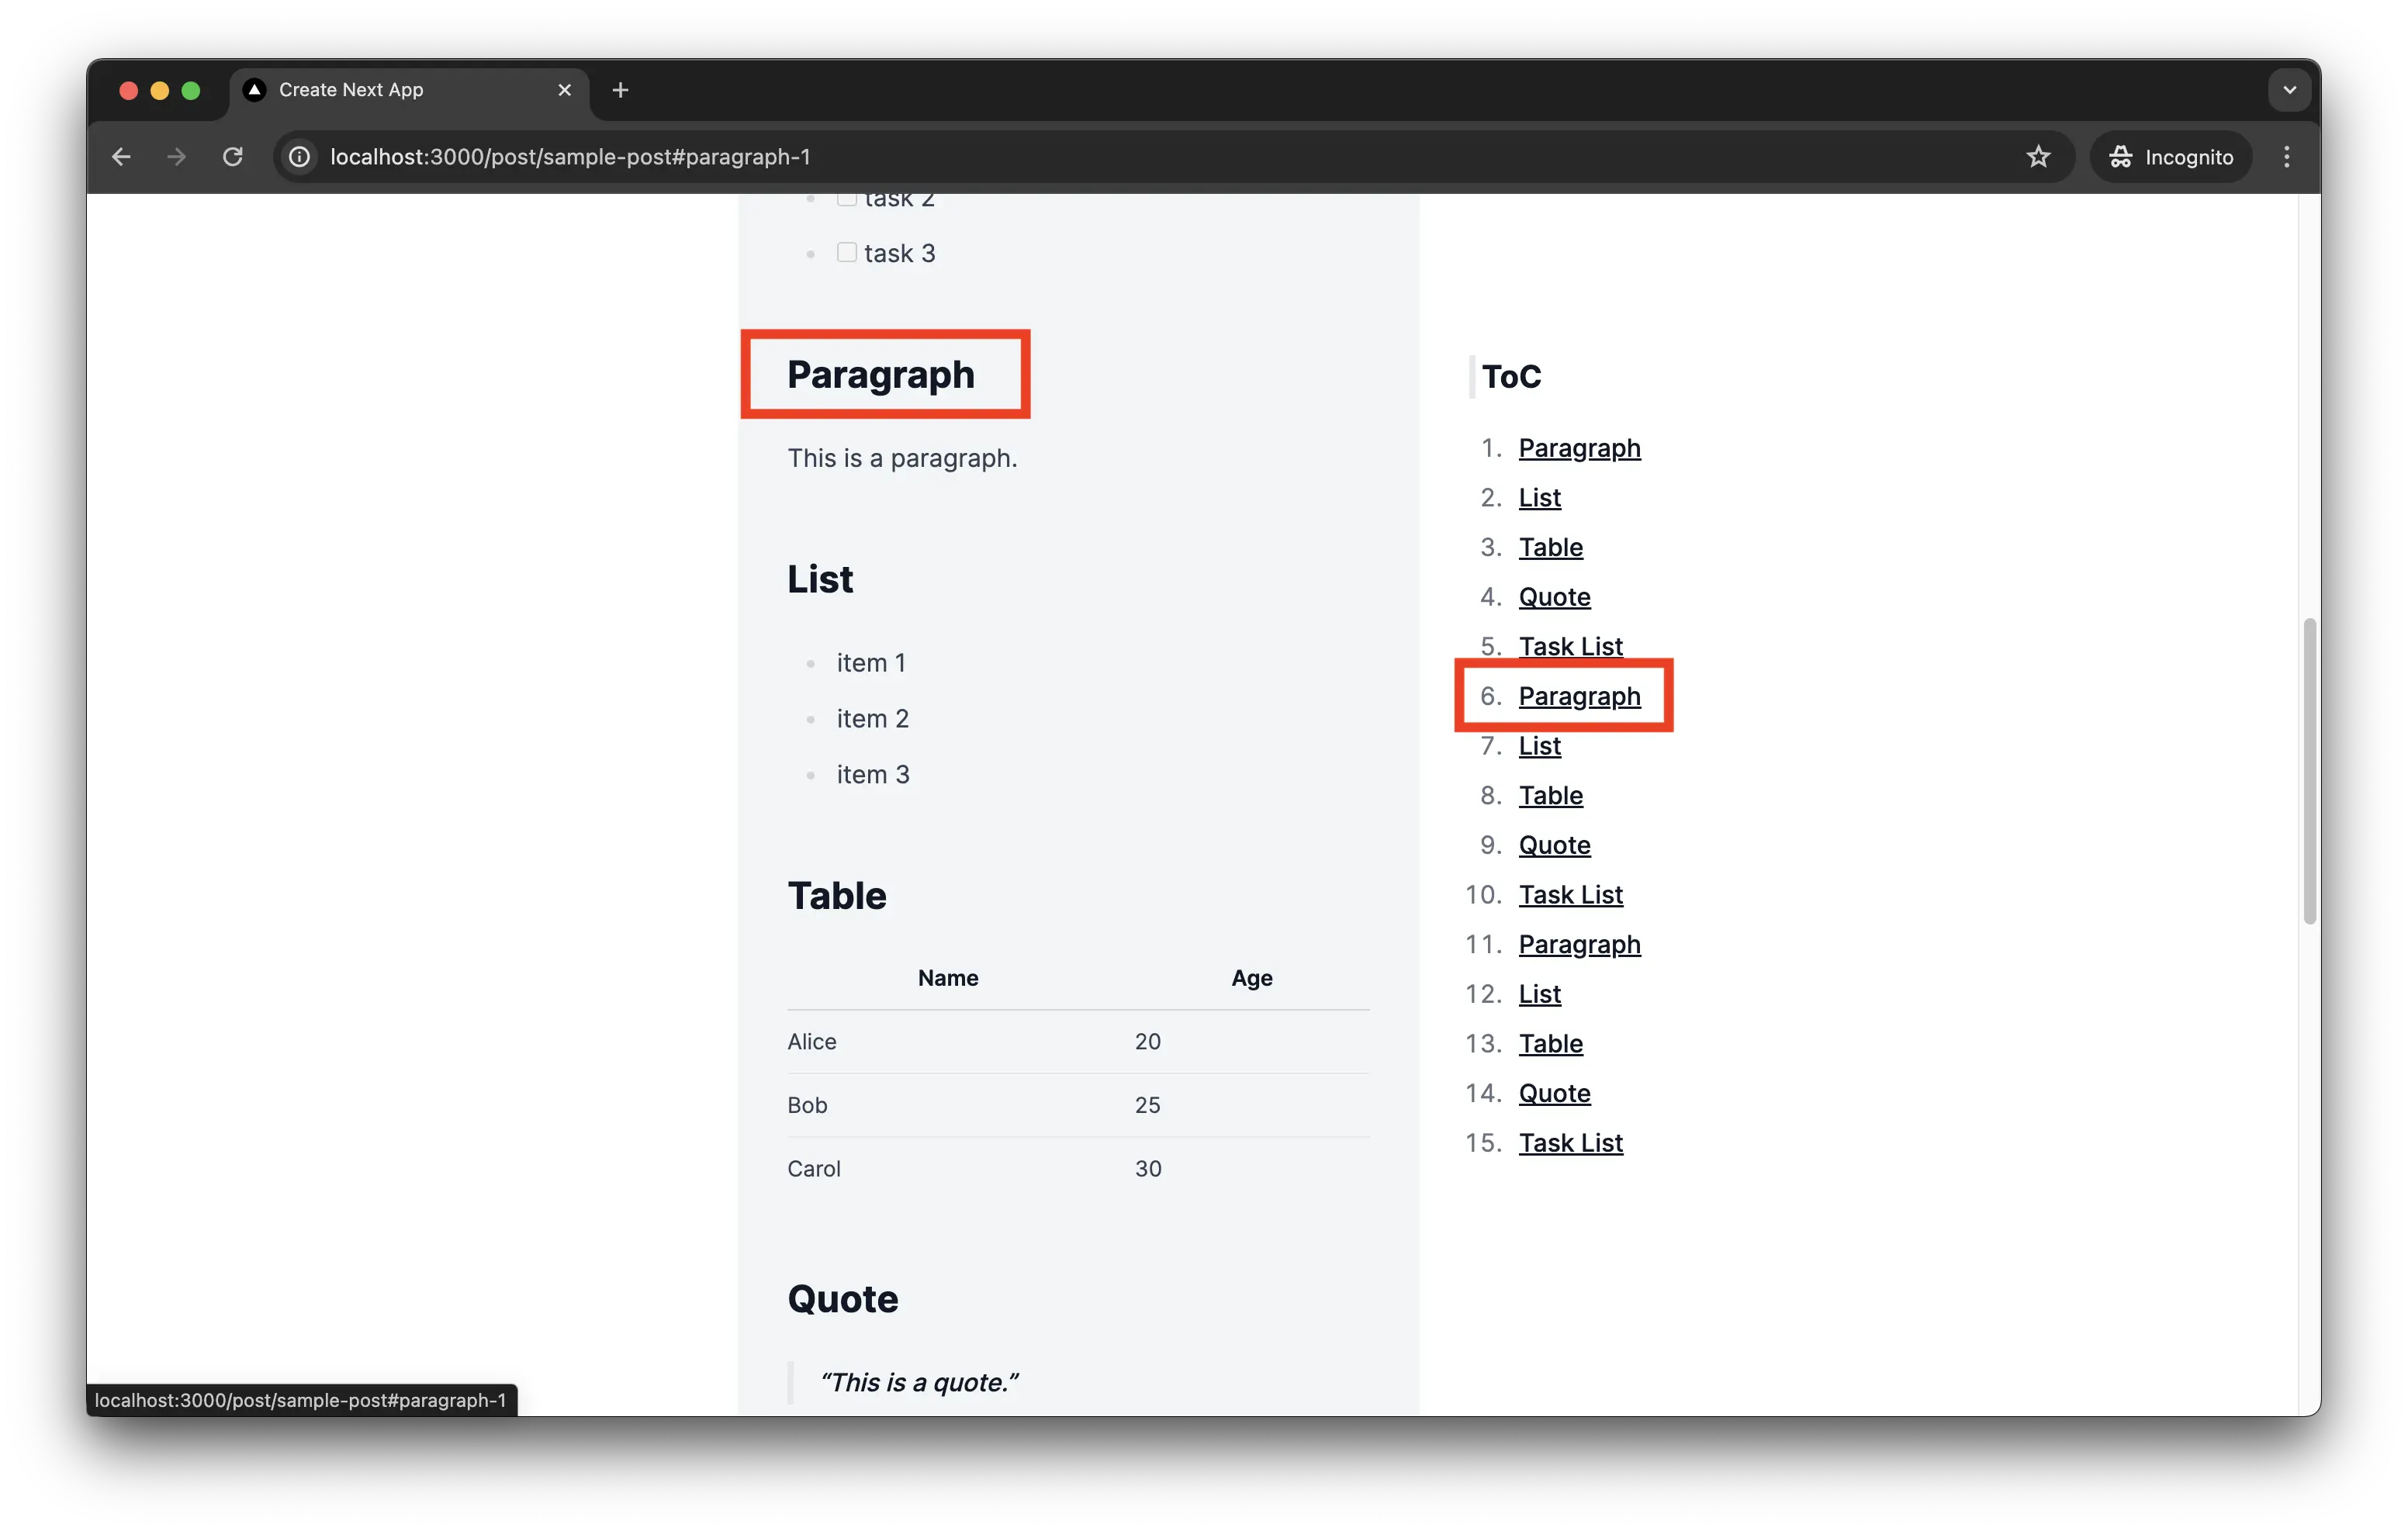
28export default Toc;こうすると、目次をクリックした時に、最上部からずれた位置にスクロールするようになります。
スタイル
最後に、Tocbotのスタイルを変更してみます。
TocbotがCSSを提供しているので、それを読み込むだけである程度のスタイルは適用することができます。
app/layout.tsxにCSSを読み込む部分を追加します。
1import type { Metadata } from "next";
2import { Inter } from "next/font/google";
3import "./globals.css";
4
5const inter = Inter({ subsets: ["latin"] });
6
7export const metadata: Metadata = {
8 title: "Create Next App",
9 description: "Generated by create next app",
10};
11
12export default function RootLayout({
13 children,
14}: Readonly<{
15 children: React.ReactNode;
16}>) {
17 return (
18 <html lang="en">
19 {/* CSSの読み込み */}
20 <link
21 rel="stylesheet"
22 href="https://cdnjs.cloudflare.com/ajax/libs/tocbot/4.25.0/tocbot.css"
23 />
24 <body className={inter.className}>{children}</body>
25 </html>
26 );
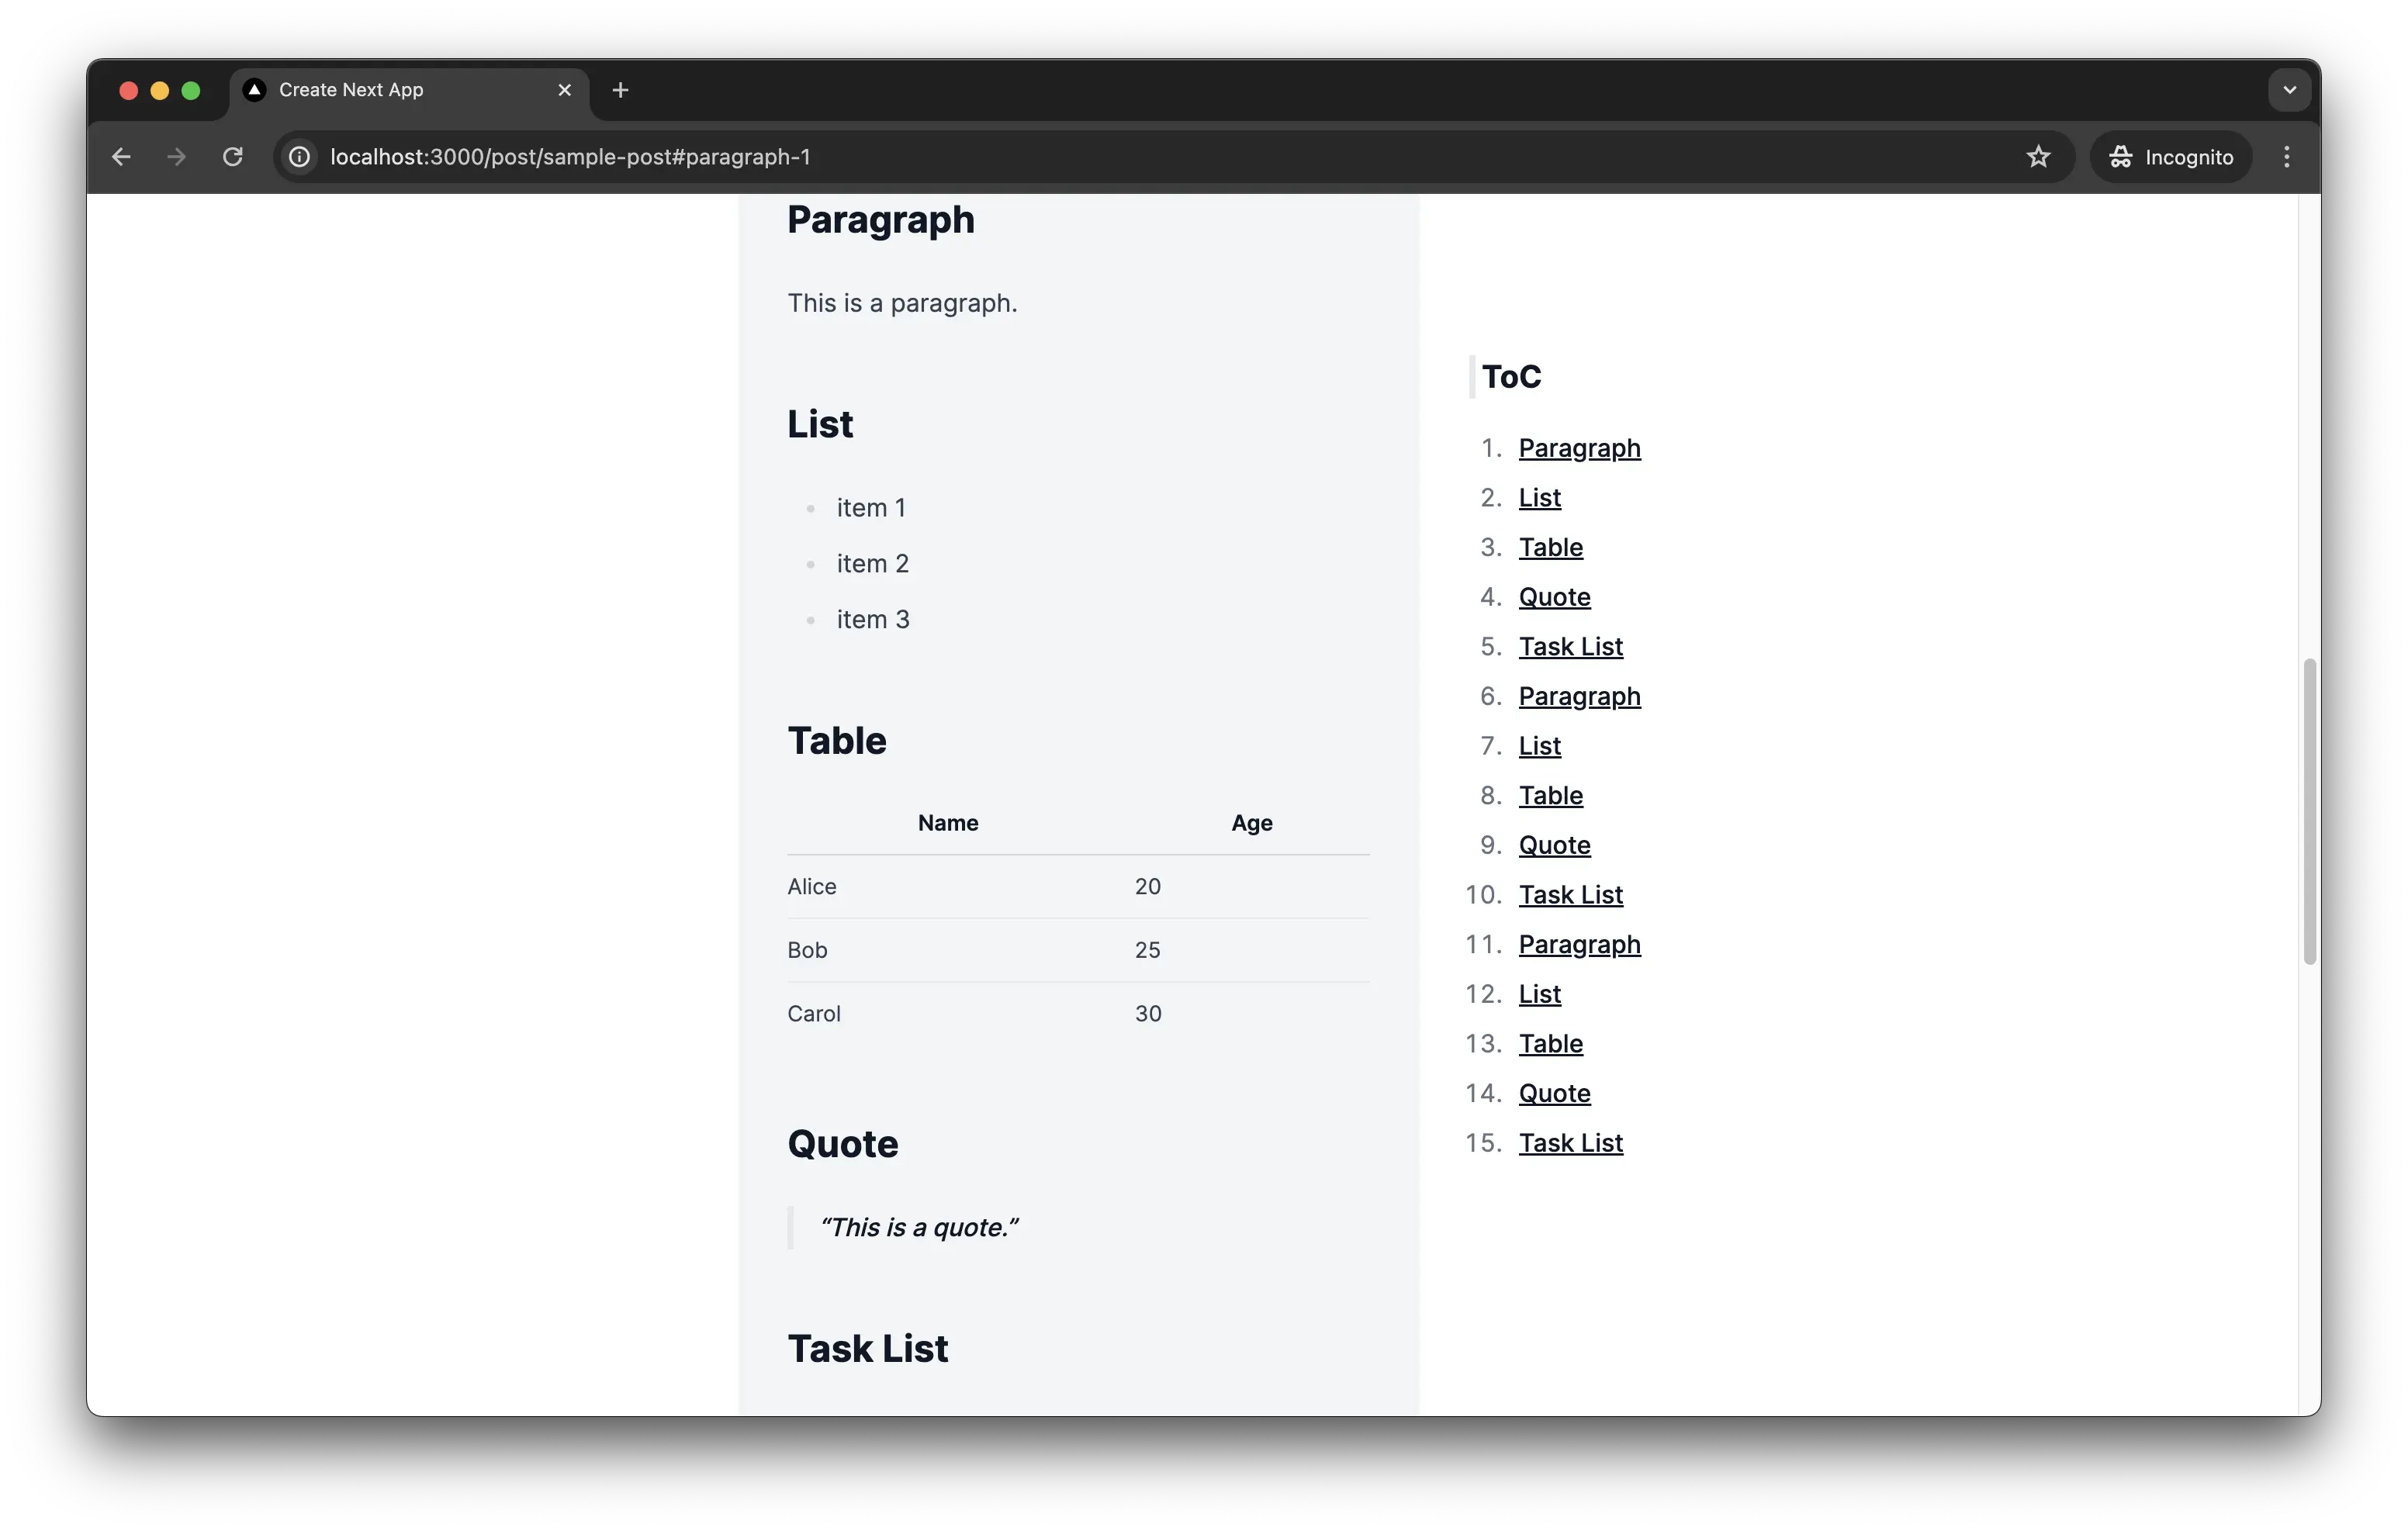
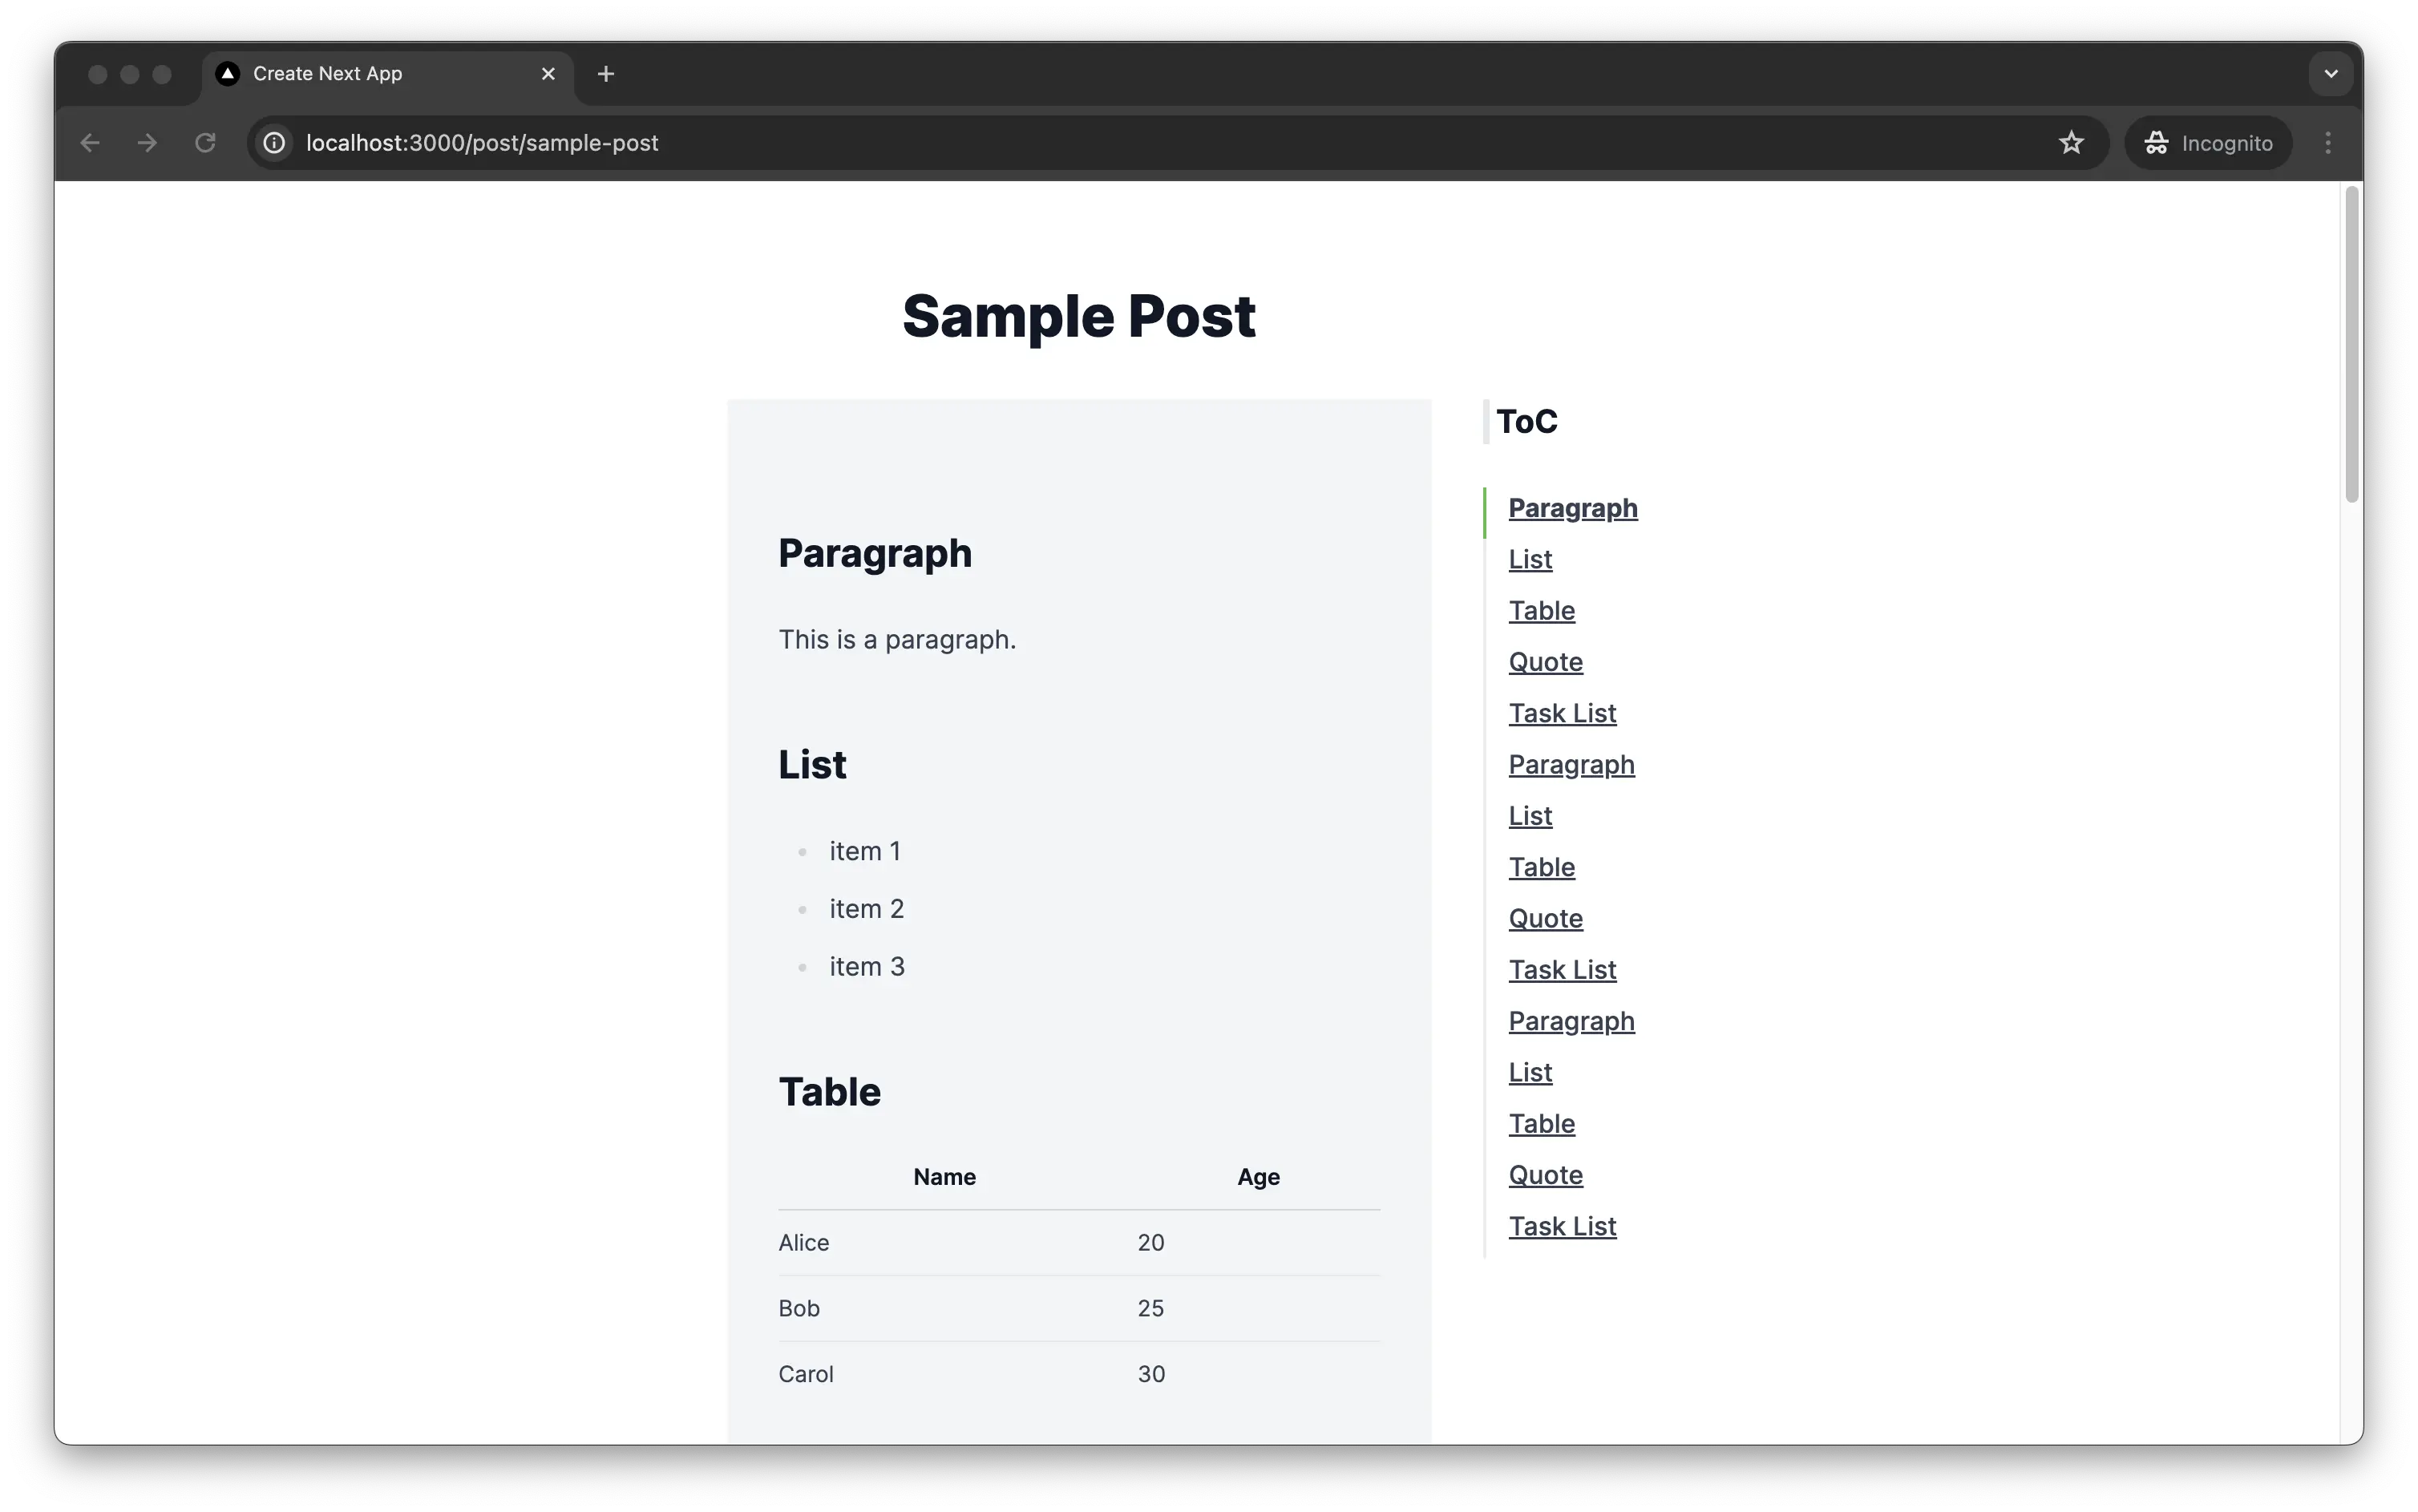
27}目次の番号がなくなり、縦線が表示されるようになりました。

これでも十分ですが、自分でスタイルを適用することもできます。今回は、app/globals.cssにTailwind CSSを使ってスタイルを追加してみます。スタイルを適用するクラスは、Tocbotのデフォルトのクラスを使っています。
1@tailwind base;
2@tailwind components;
3@tailwind utilities;
4
5/* Tocbotのスタイル */
6
7.toc-list {
8 @apply w-full my-0 px-0;
9}
10
11.toc-link {
12 @apply text-gray-500 font-medium no-underline transition-colors duration-200 rounded-md inline-block w-full py-1.5 pl-2;
13}
14
15.is-collapsible .toc-link {
16 @apply ml-2 font-normal;
17}
18
19.toc-link:hover {
20 @apply text-gray-200 bg-gray-500;
21}
22
23.toc-list-item {
24 @apply list-none w-full rounded-md py-0 my-0;
25}
26
27.is-active-link {
28 @apply text-gray-200 bg-gray-500 font-bold;
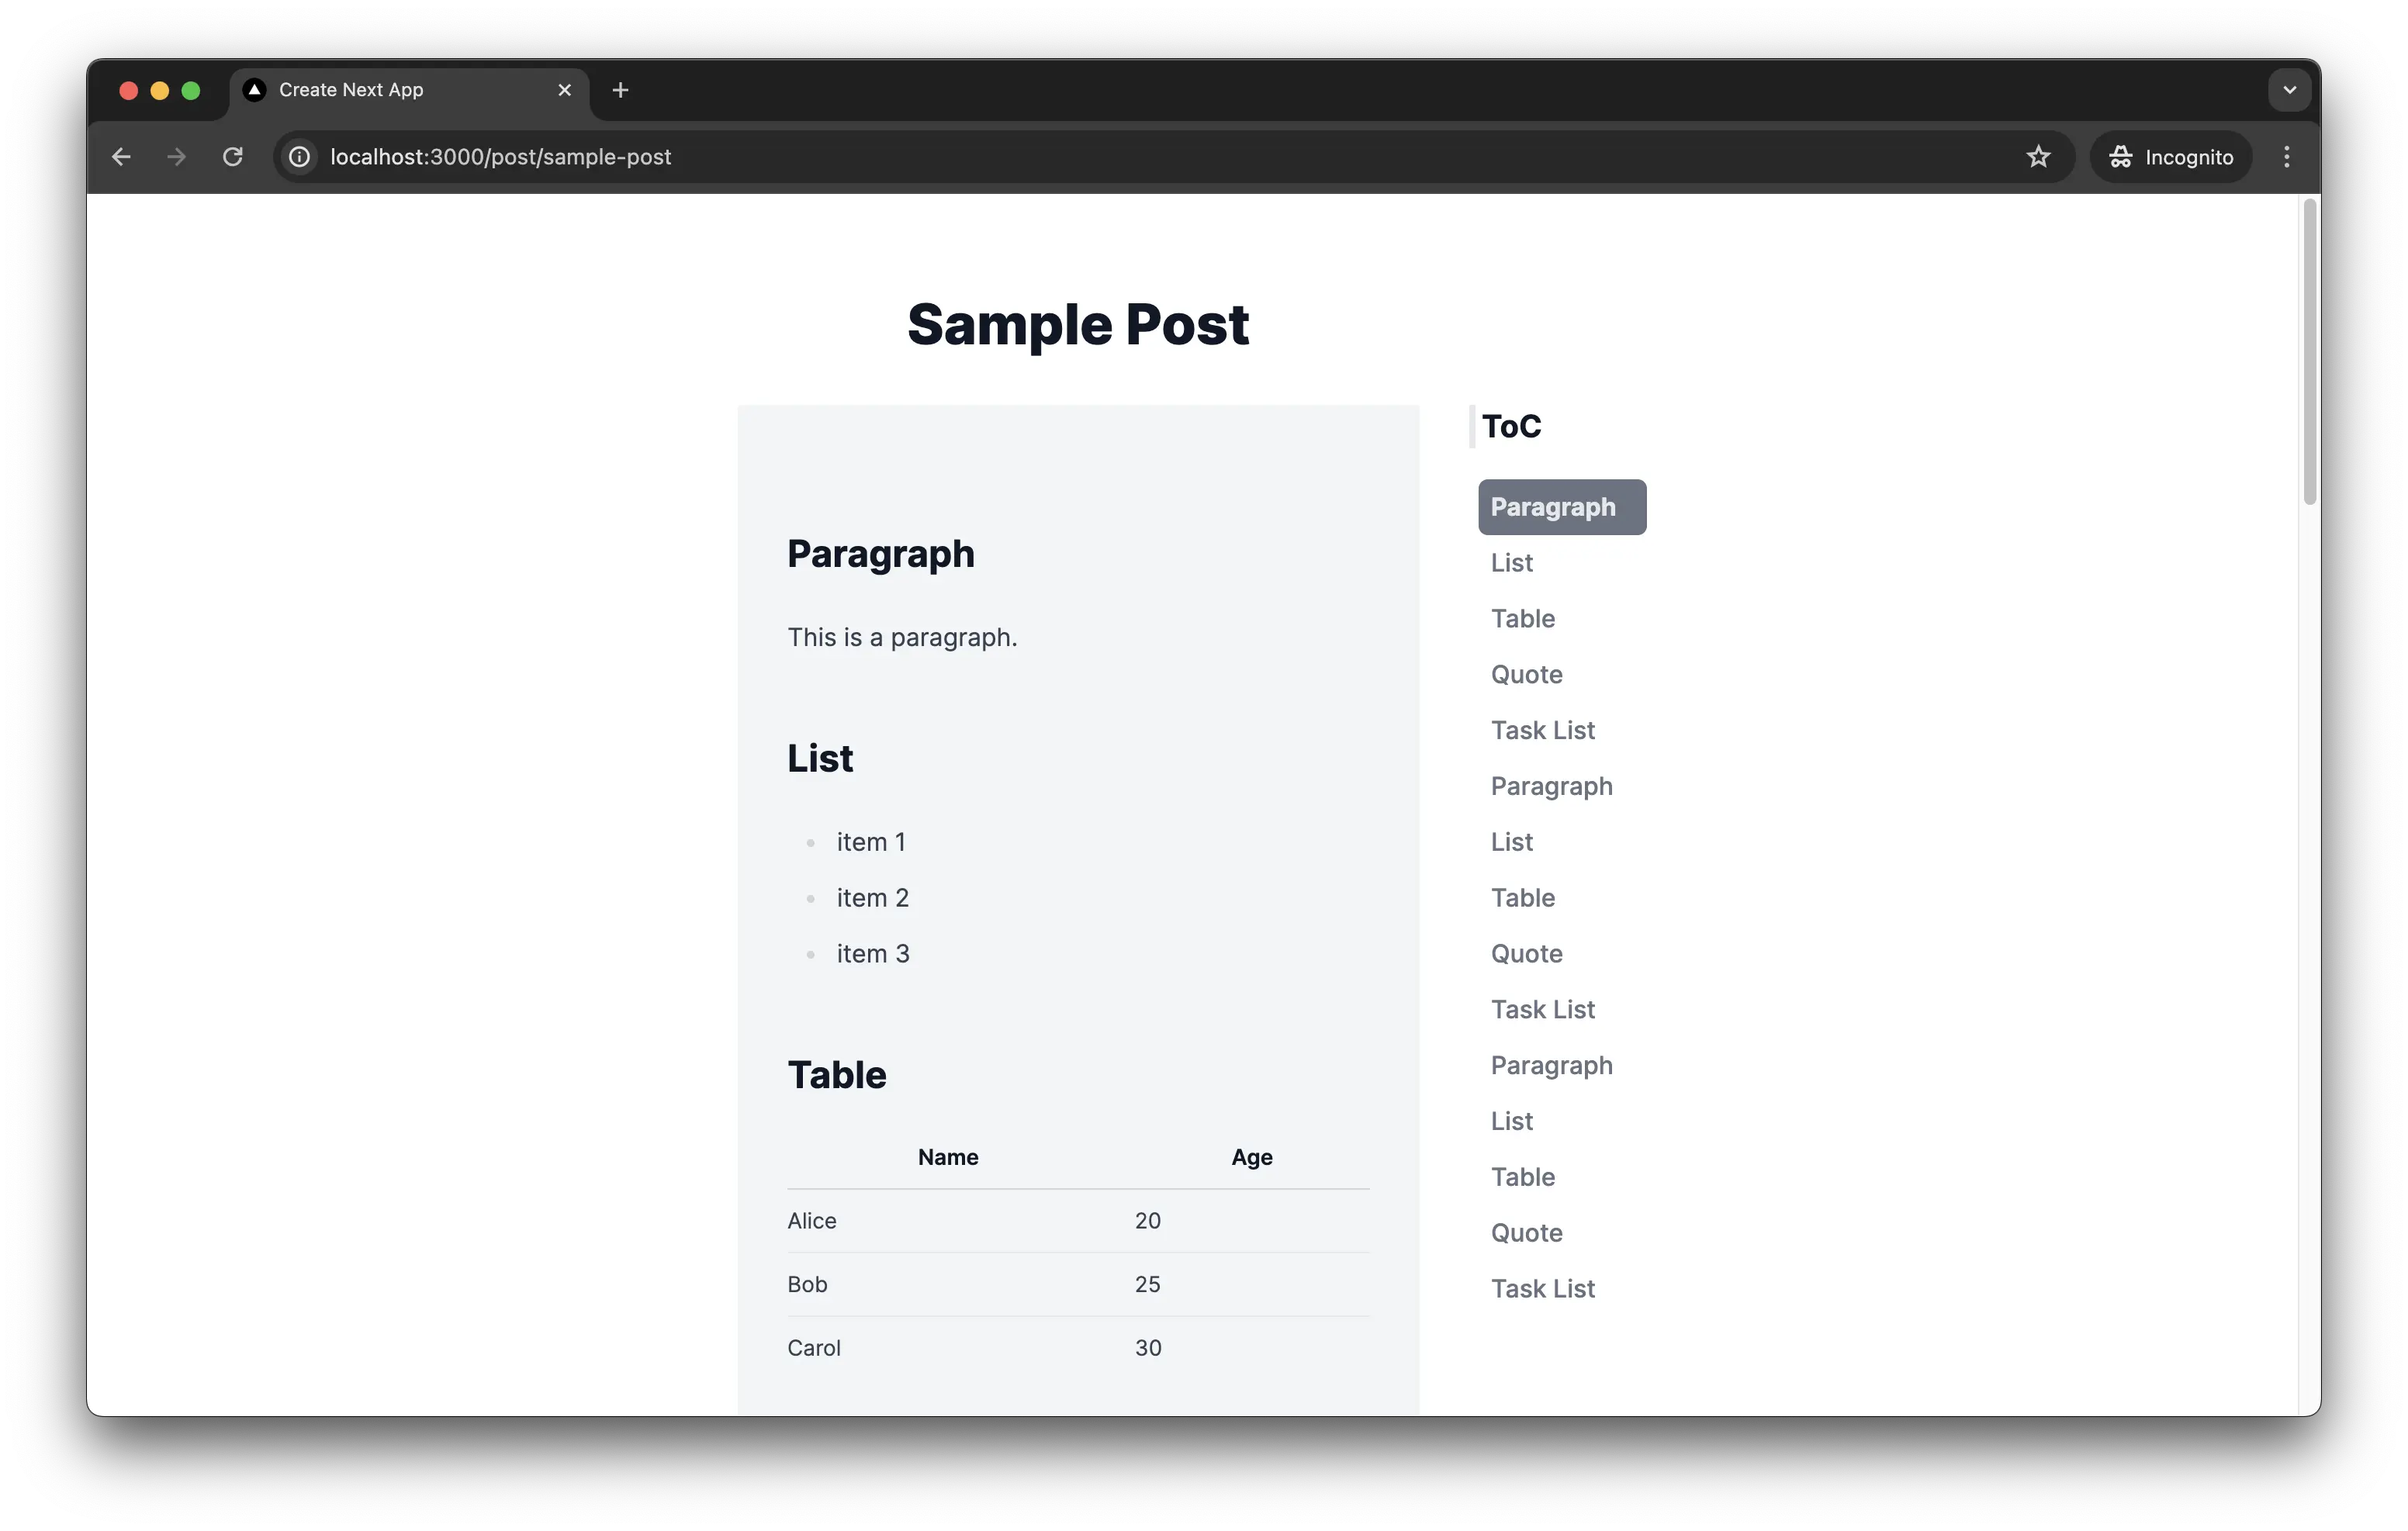
29}これで、目次のスタイルを変更することができました。
まとめ
Next.jsとMarkdownを使用してブログを作成する場合に、Tocbotを使って目次を作成する方法を紹介しました。
Tocbotを使うことで、簡単に目次を作成することができますし、スクロールしたときの位置の調整やスタイルの変更も簡単にでき便利です。
このブログのベースとなっているサンプルは下記から参照できます。実際にTocbotも使っています。
GitHub - monda00/next-app-router-mdx-blog: This is a sample blog application using Next.js with App Router with next-mdx-remote.
This is a sample blog application using Next.js with App Router with next-mdx-remote. - monda00/next-app-router-mdx-blog
参考
- Tocbot
- tscanlin/tocbot: Build a table of contents from headings in an HTML document.
- Zennの技術まわりの質問があれば答えるよ
\ この記事が役に立ったと思ったら、サポートお願いします! /

関連記事
GoでYoutube Data APIを使ってみる
【Python】Markdown形式のTableを出力する

【Typescript】Next.js + MDXでブログ開発