はじめに
ローカルでSonarQubeのSonarqube Community Branch Pluginを試してみました。
Sonarqube Community Branch Plugin
Sonarqube Community Branch Pluginは、SonarQube Community Editionでブランチ解析を可能にするためのプラグインです。
GitHub - mc1arke/sonarqube-community-branch-plugin: A plugin that allows branch analysis and pull request decoration in the Community version of Sonarqube
A plugin that allows branch analysis and pull request decoration in the Community version of Sonarqube - mc1arke/sonarqube-community-branch-plugin
ブランチ解析は本来、Developer Edition以上でしか利用できませんが、このプラグインを利用することでCommunity Editionでもブランチ解析が可能になります。基本的にできるようになることは公式のドキュメントの通りですが、プラグイン自体は公式のサポートを受けているわけではないので、利用する際は注意が必要です。また、ブランチ解析だけでなく、プルリクエスト解析もできるようになります。
Branch analysis | SonarQube Server 10.3 | Sonar Documentation
With branch analysis in SonarQube, you can ensure that you’re maintaining consistent code quality all the way down to the branch level of your projects.
Pull request analysis | SonarQube Server 10.3 | Sonar Documentation
Pull request analysis shows your pull request’s quality gate and analysis in the SonarQube interface.
使用する場合は、プラグインのバージョンとSonarQubeのバージョンの組み合わせを確認する必要があります。
Docker composeで試してみる
Docker Composeを使って、ローカルでSonarqube Community Branch Pluginを試してみます。
Docker Composeファイルの作成
まずは、以下のようなdocker-compose.ymlを作成します。プラグインがすでにインストールされているイメージが公開されているので、そちらを利用しています。また、データベースのコンテナは今回は省略しています。
1services:
2  sonarqube:
3    image: mc1arke/sonarqube-with-community-branch-plugin:10.3-community
4    volumes:
5      - sonarqube_data:/opt/sonarqube/data
6      - sonarqube_extensions:/opt/sonarqube/extensions
7      - sonarqube_logs:/opt/sonarqube/logs
8    ports:
9      - "9000:9000"
10volumes:
11  sonarqube_data:
12  sonarqube_extensions:
13  sonarqube_logs:
SonarQubeの起動
下記のコマンドでDocker Composeを使ってSonarQubeを起動します。
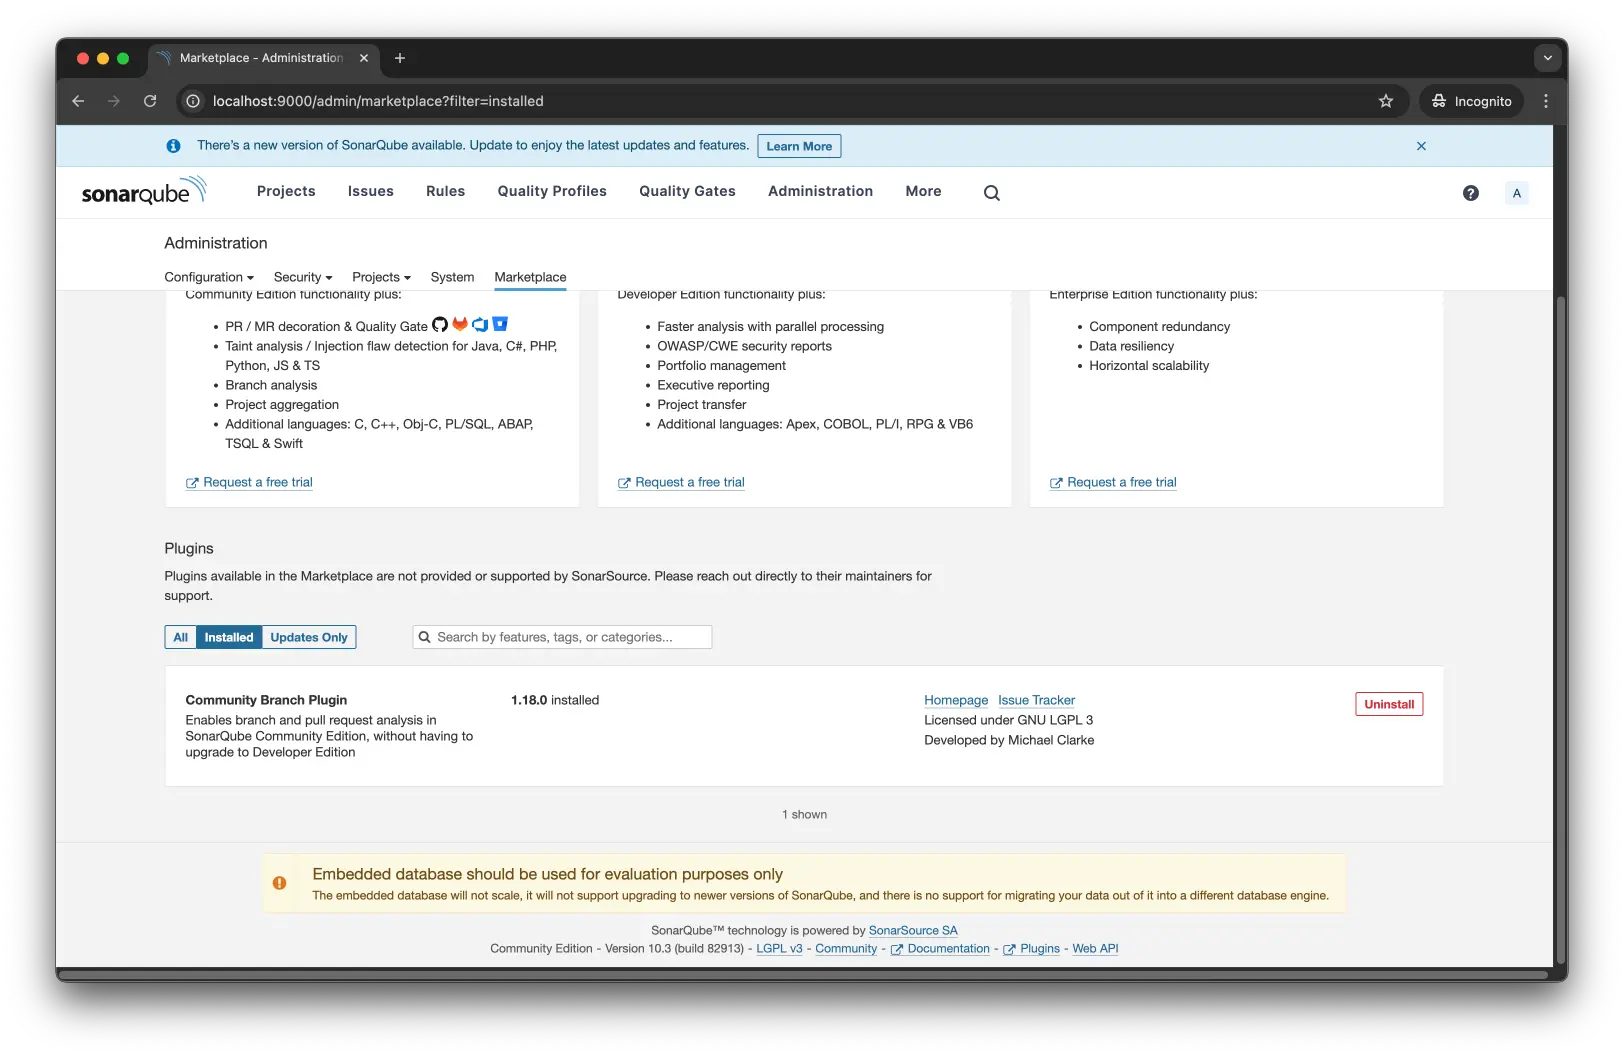
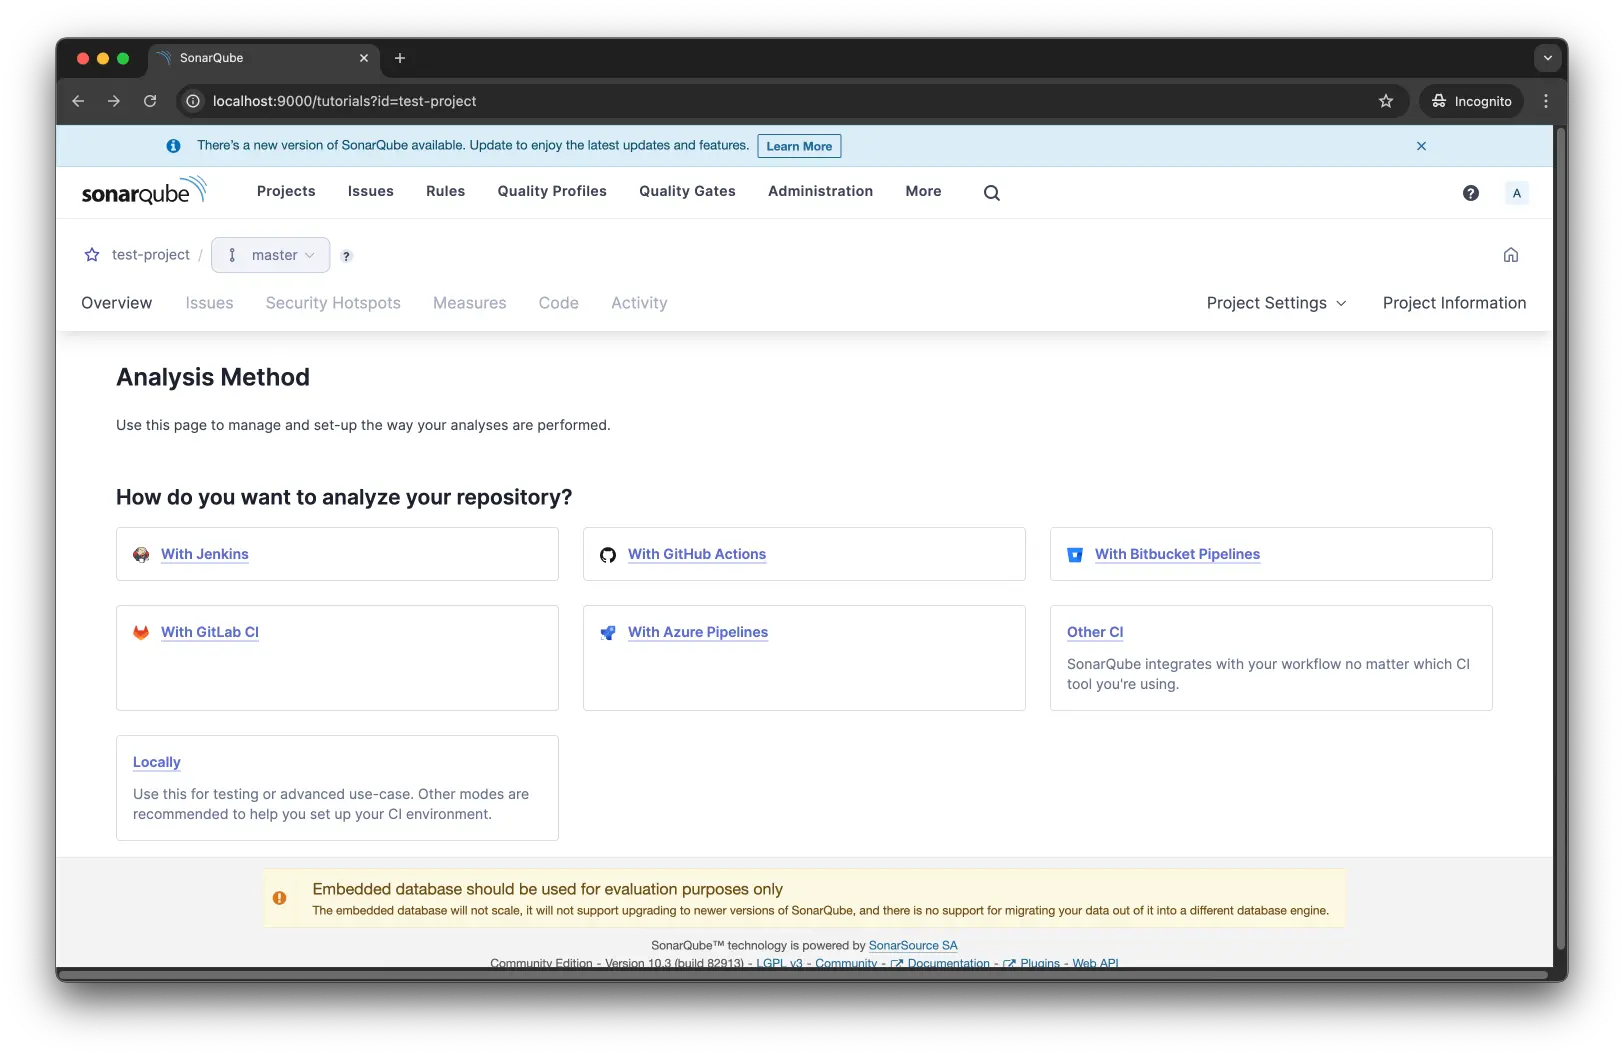
1docker compose up -dhttp://localhost:9000にアクセスして、Administration > MarketplaceからSonarqube Community Branch Pluginがインストールされていることが確認できます。
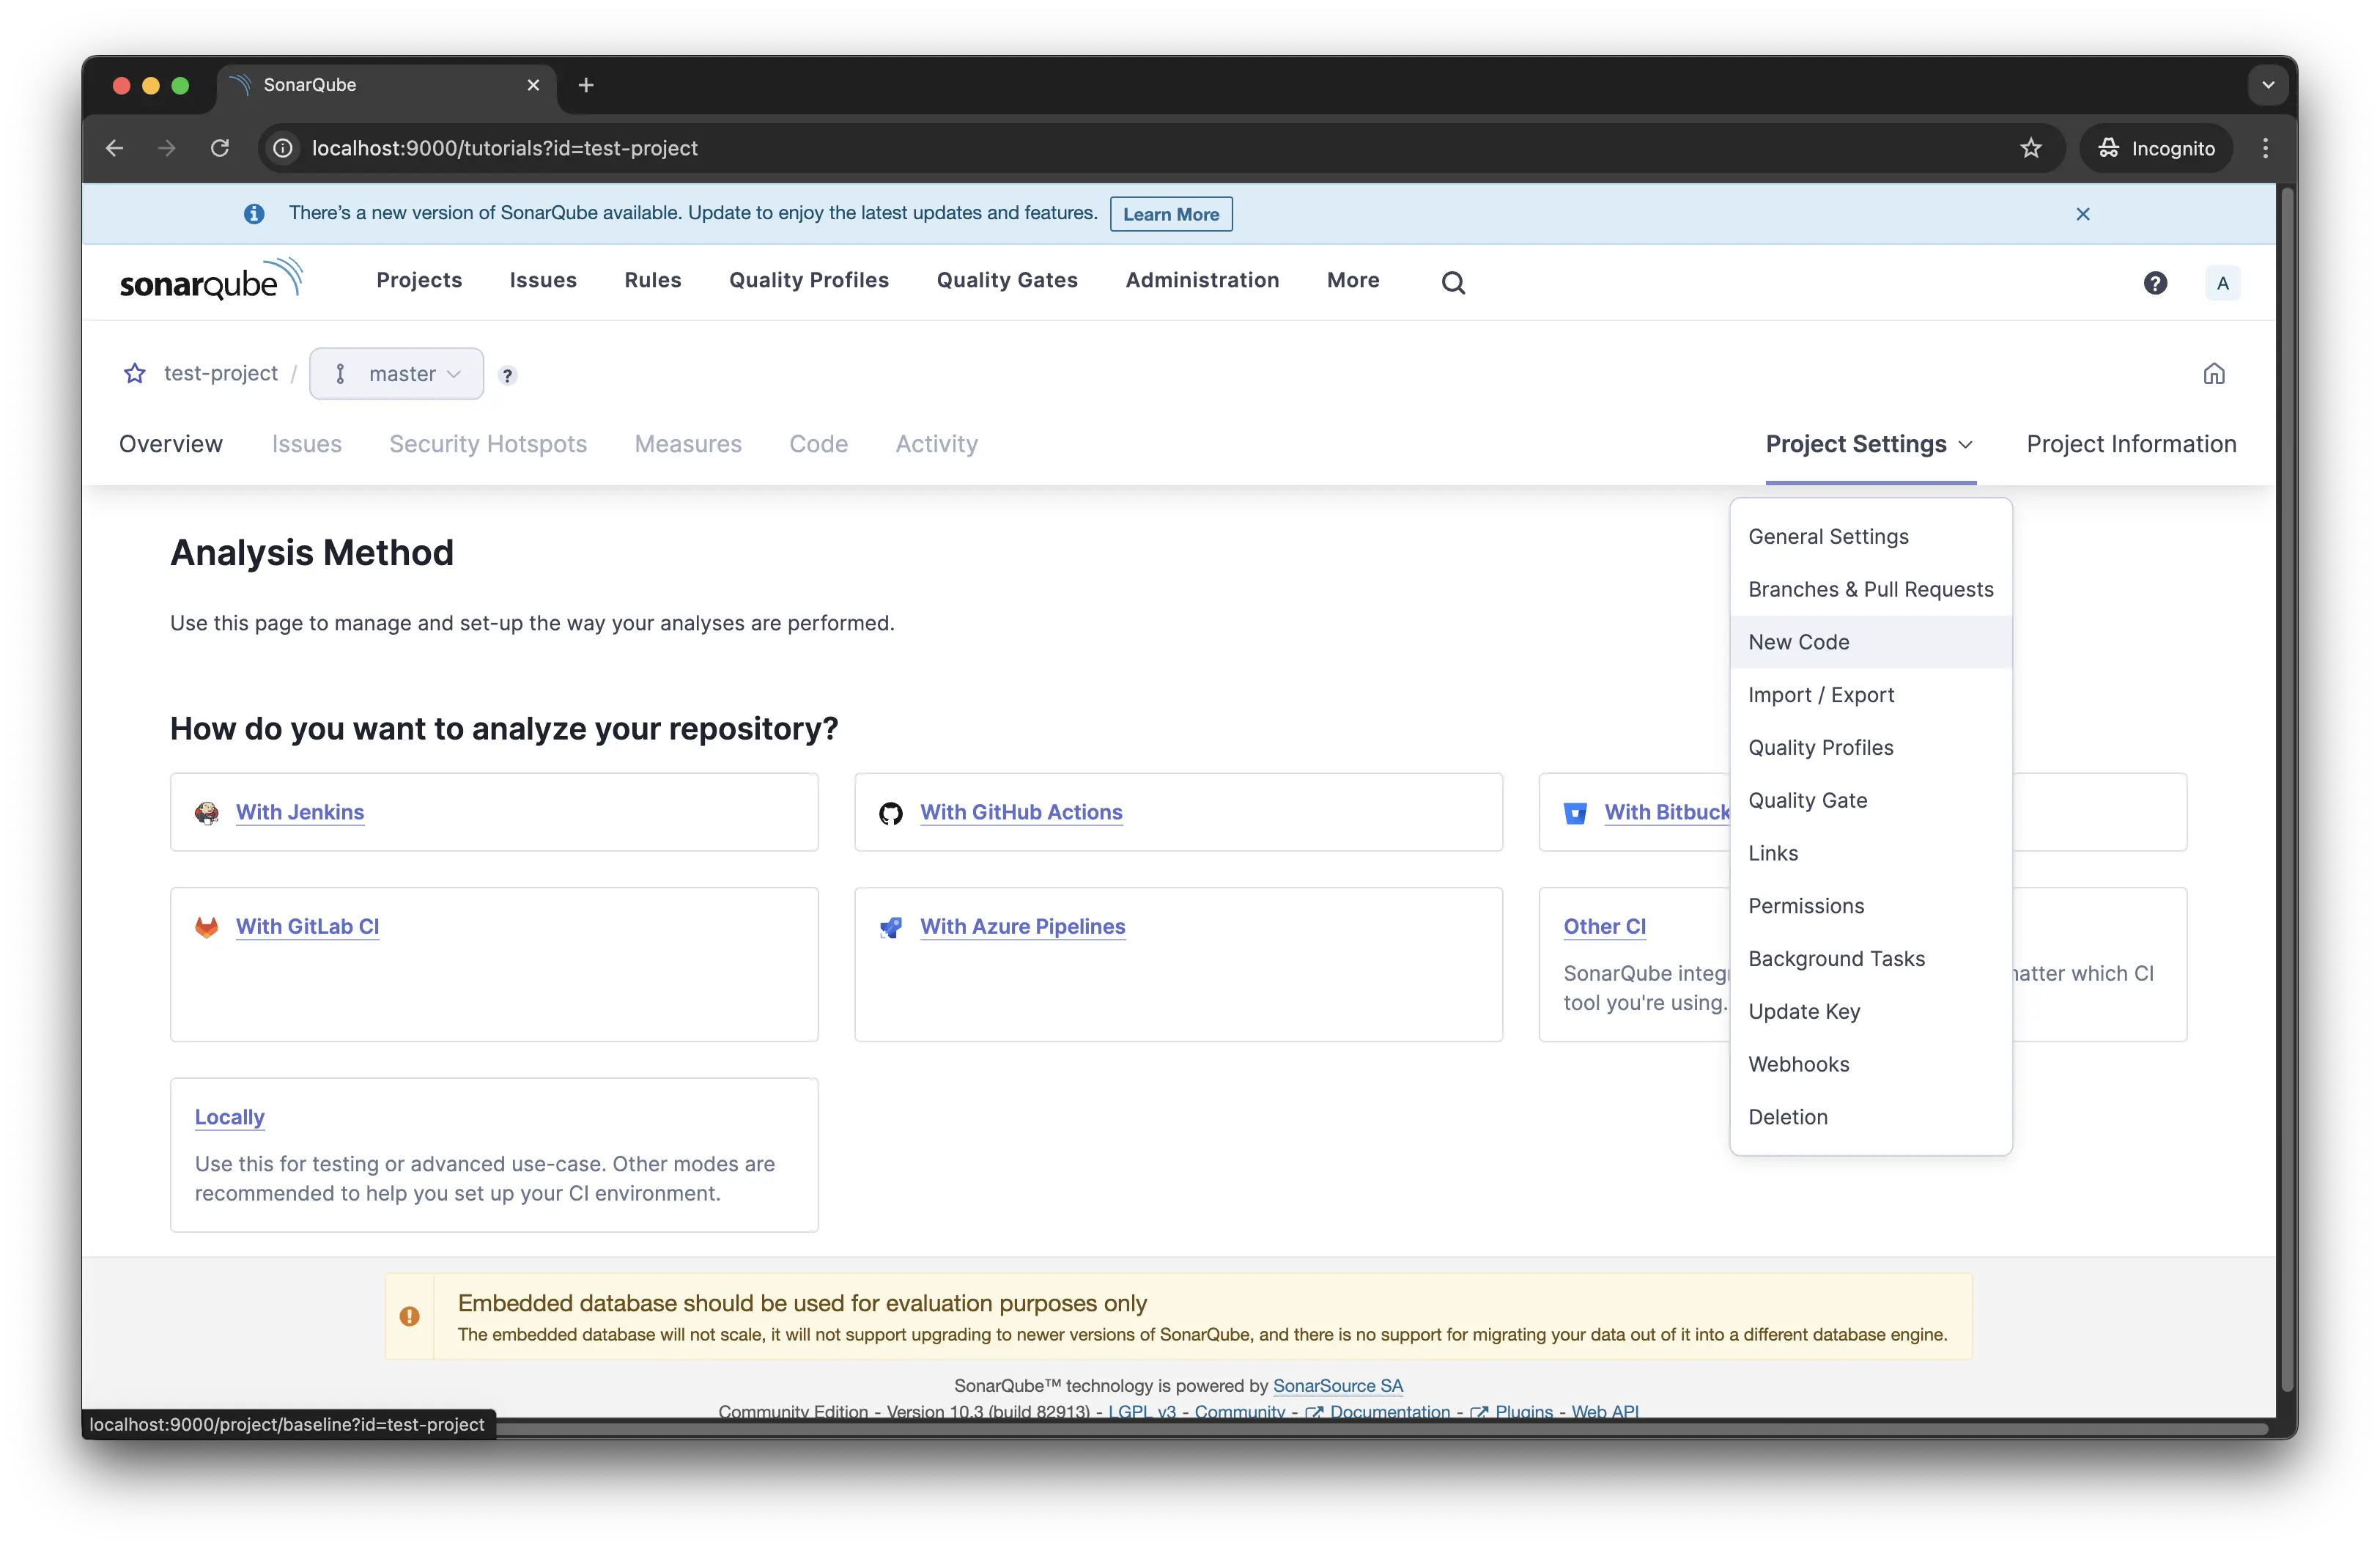
プロジェクトの設定
ブランチ解析を試すために、サンプルのプロジェクトを作成します。MAIN BRANCHとしてmasterを設定しています。
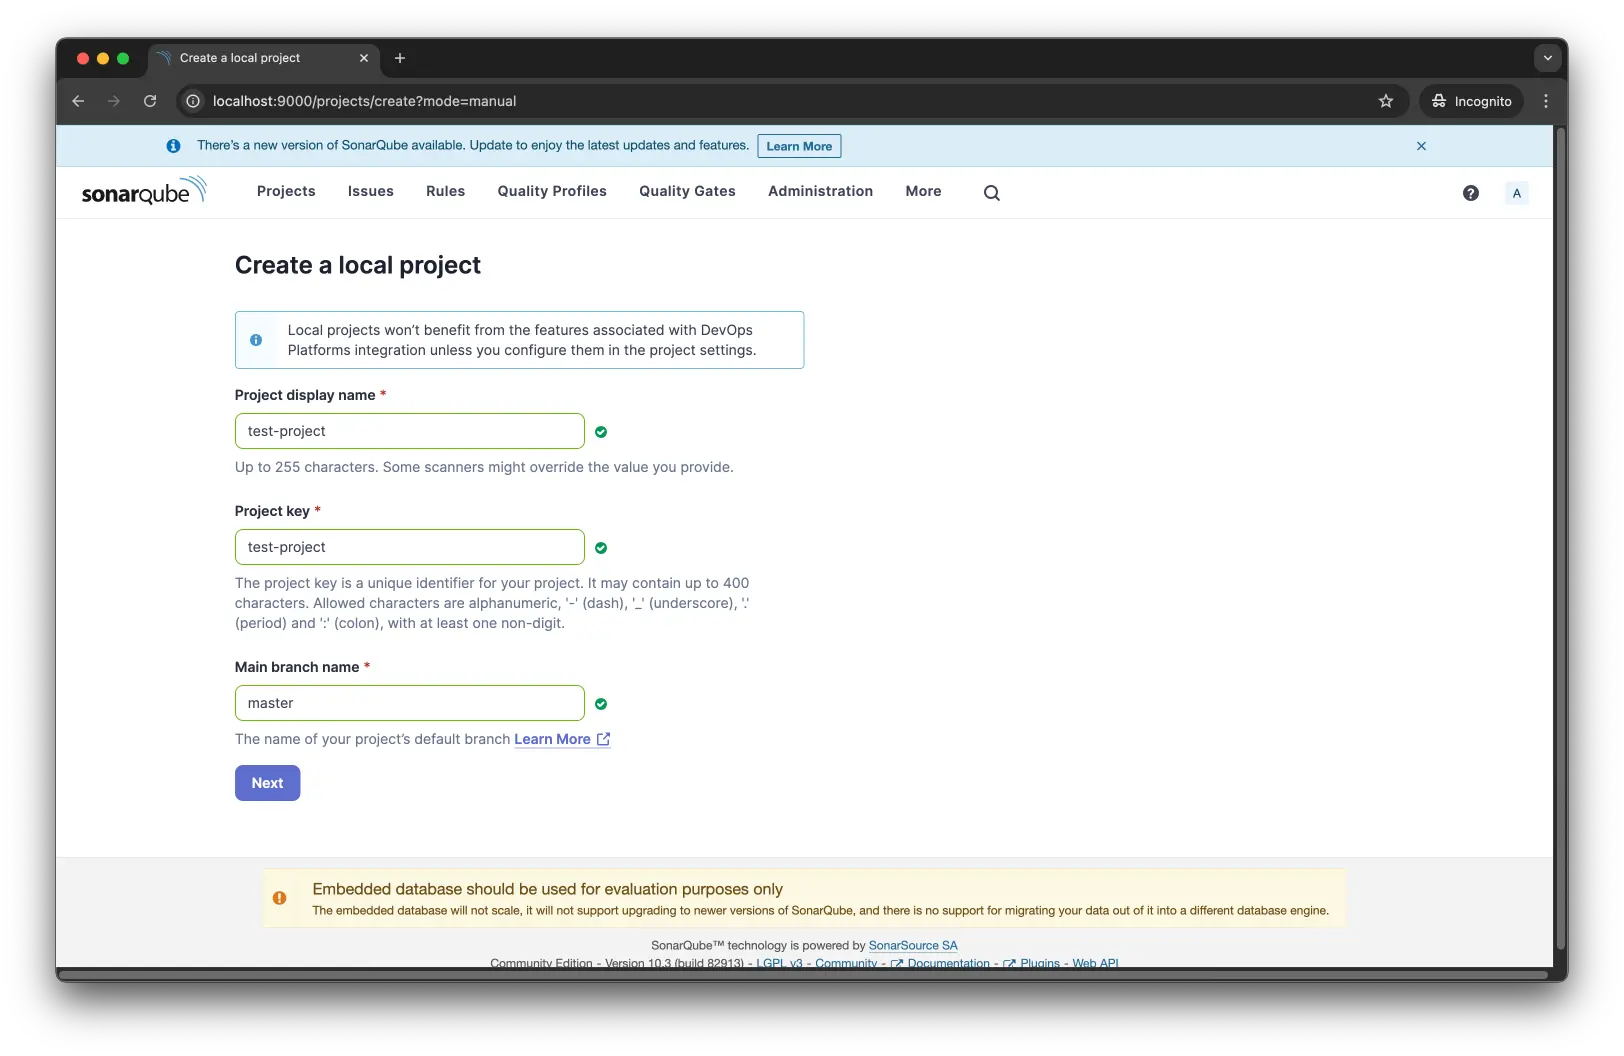
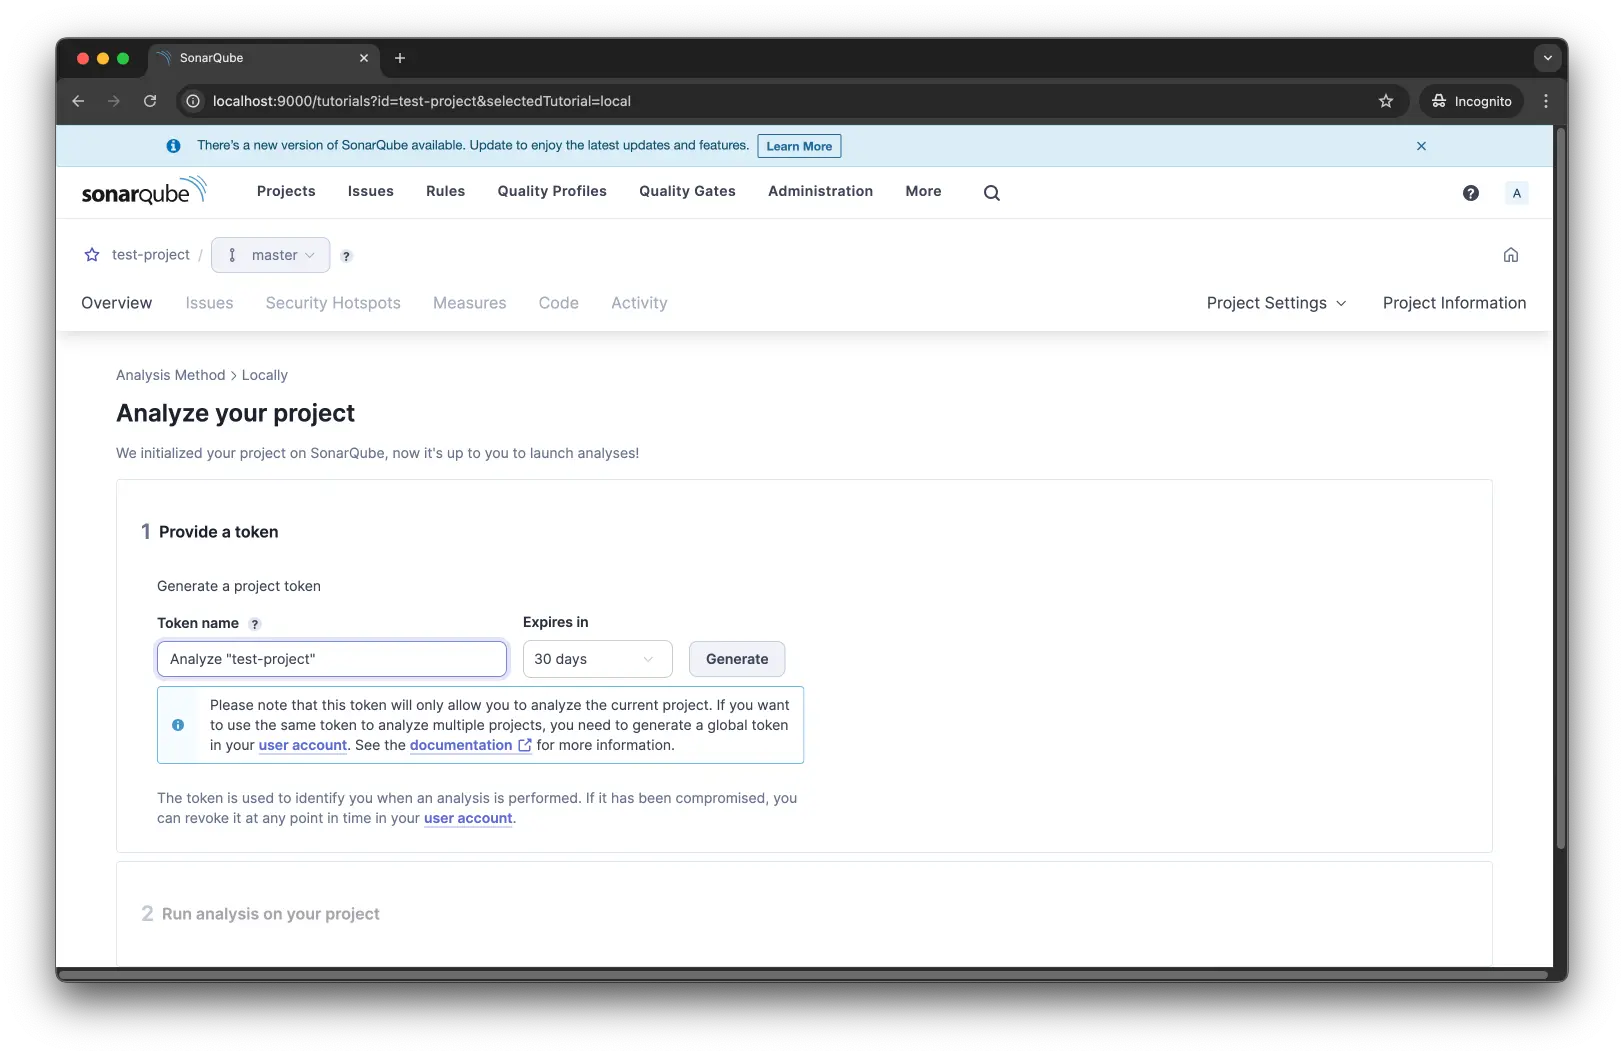
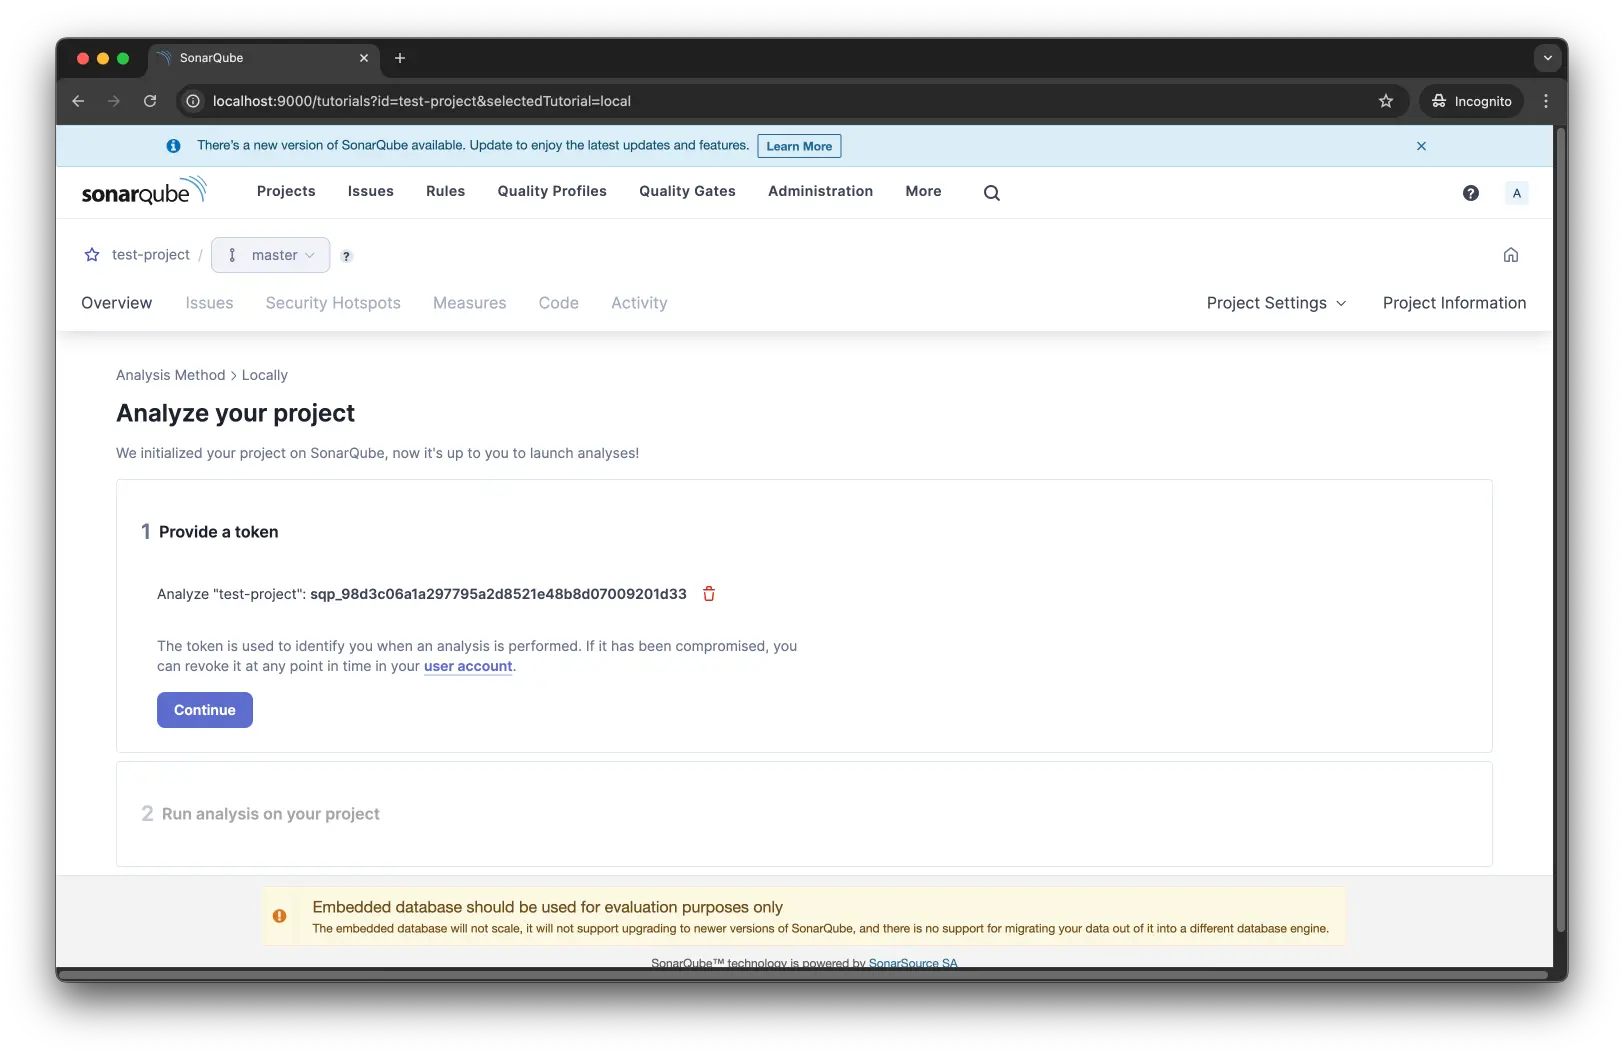
プロジェクトを作成したら、解析するためのトークンを生成しておきます。
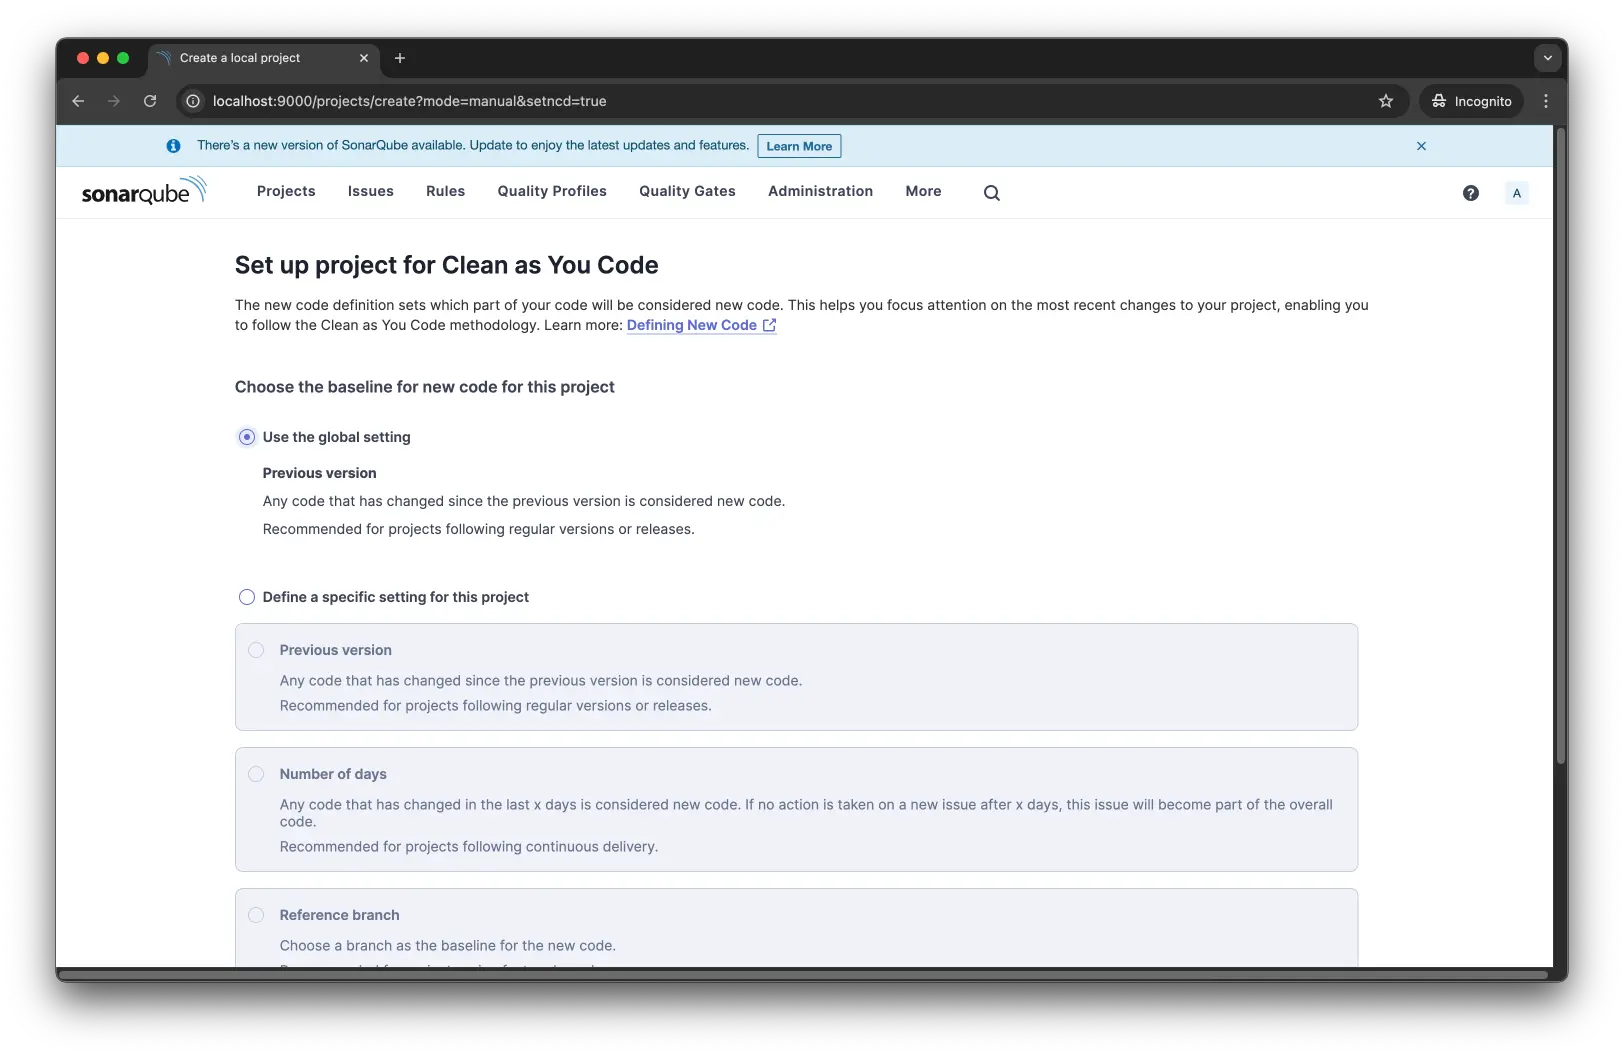
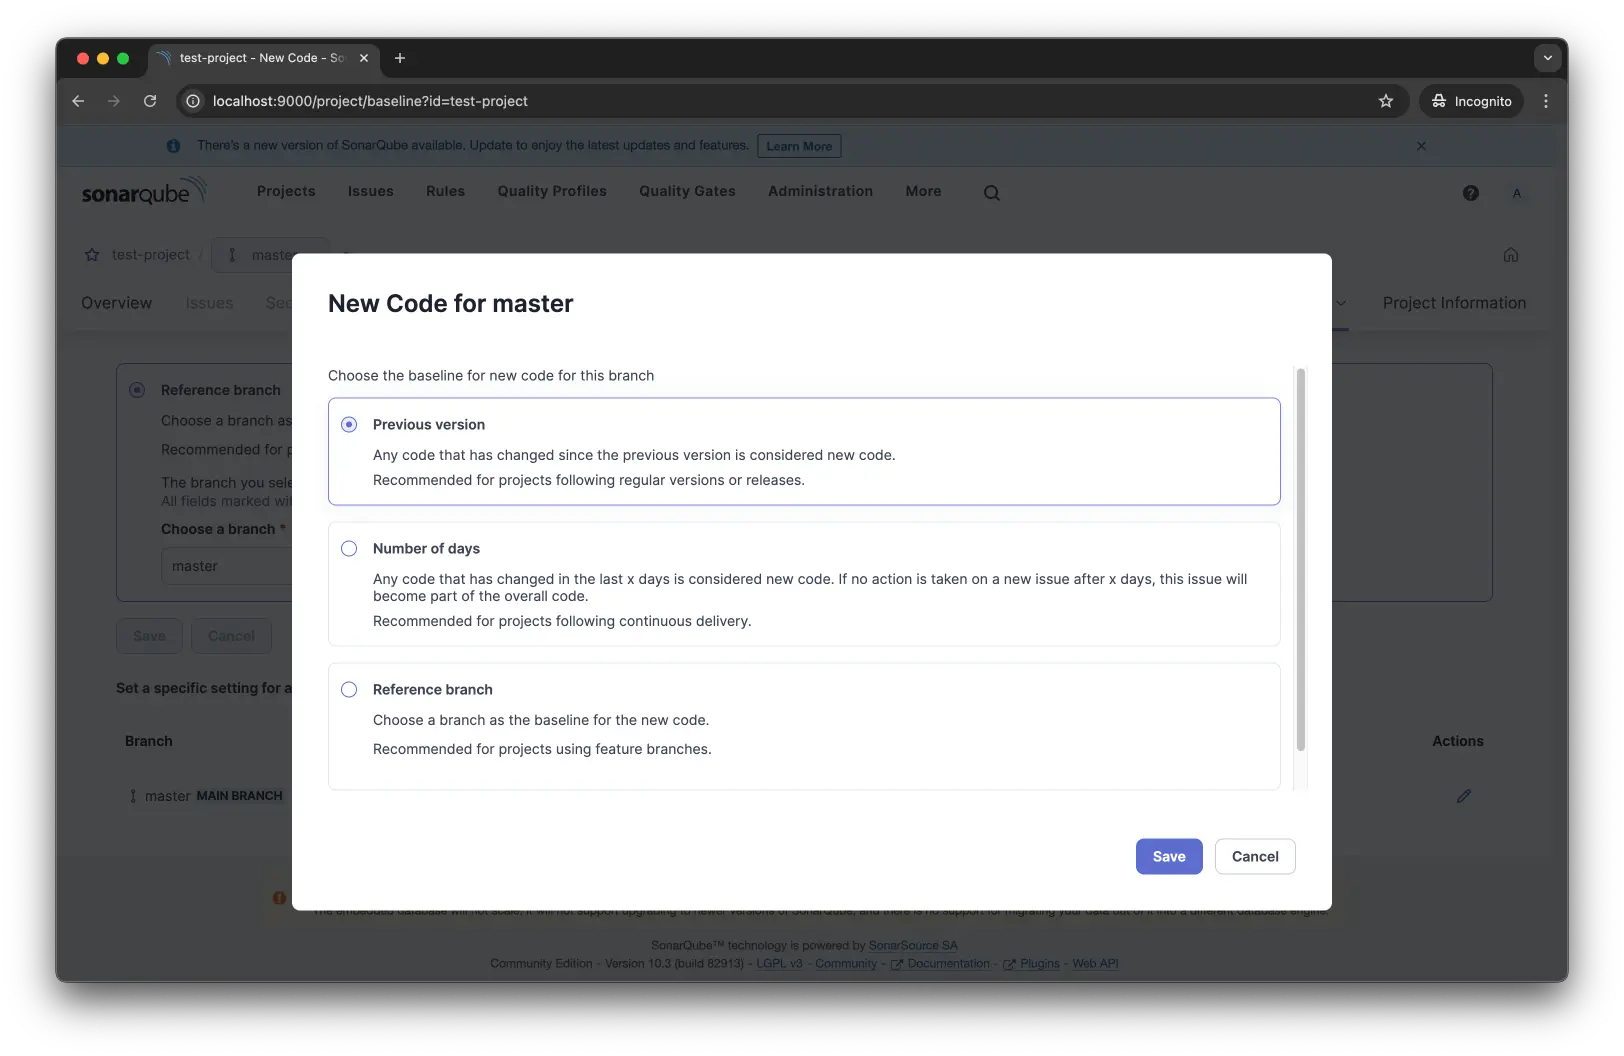
また、ブランチ解析のために、"New Code"の設定を行います。"New Code"は、どのコードを新しいコードとして扱うかを設定するものです。
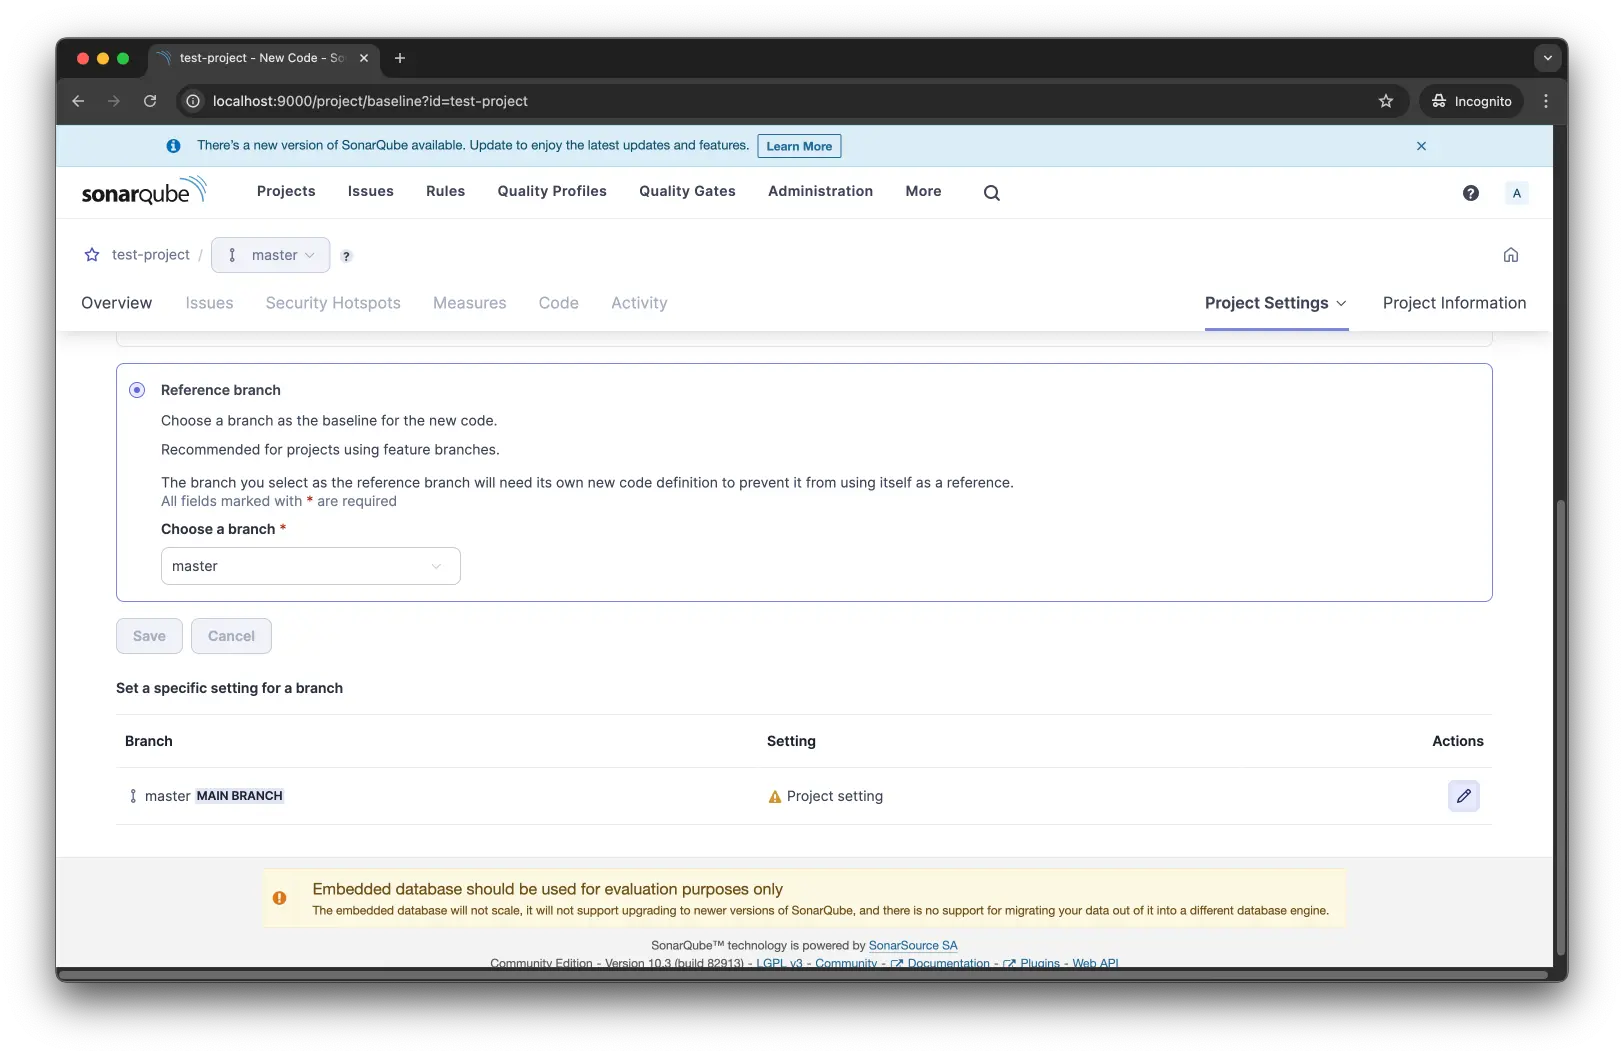
"New Code"のプロジェクト設定は、"Reference branch"とします。"Reference branch"は、ベースとなるブランチと比較して"New Code"を決めます。ここでは、MAIN BRANCHとして設定されているmasterを選択します。
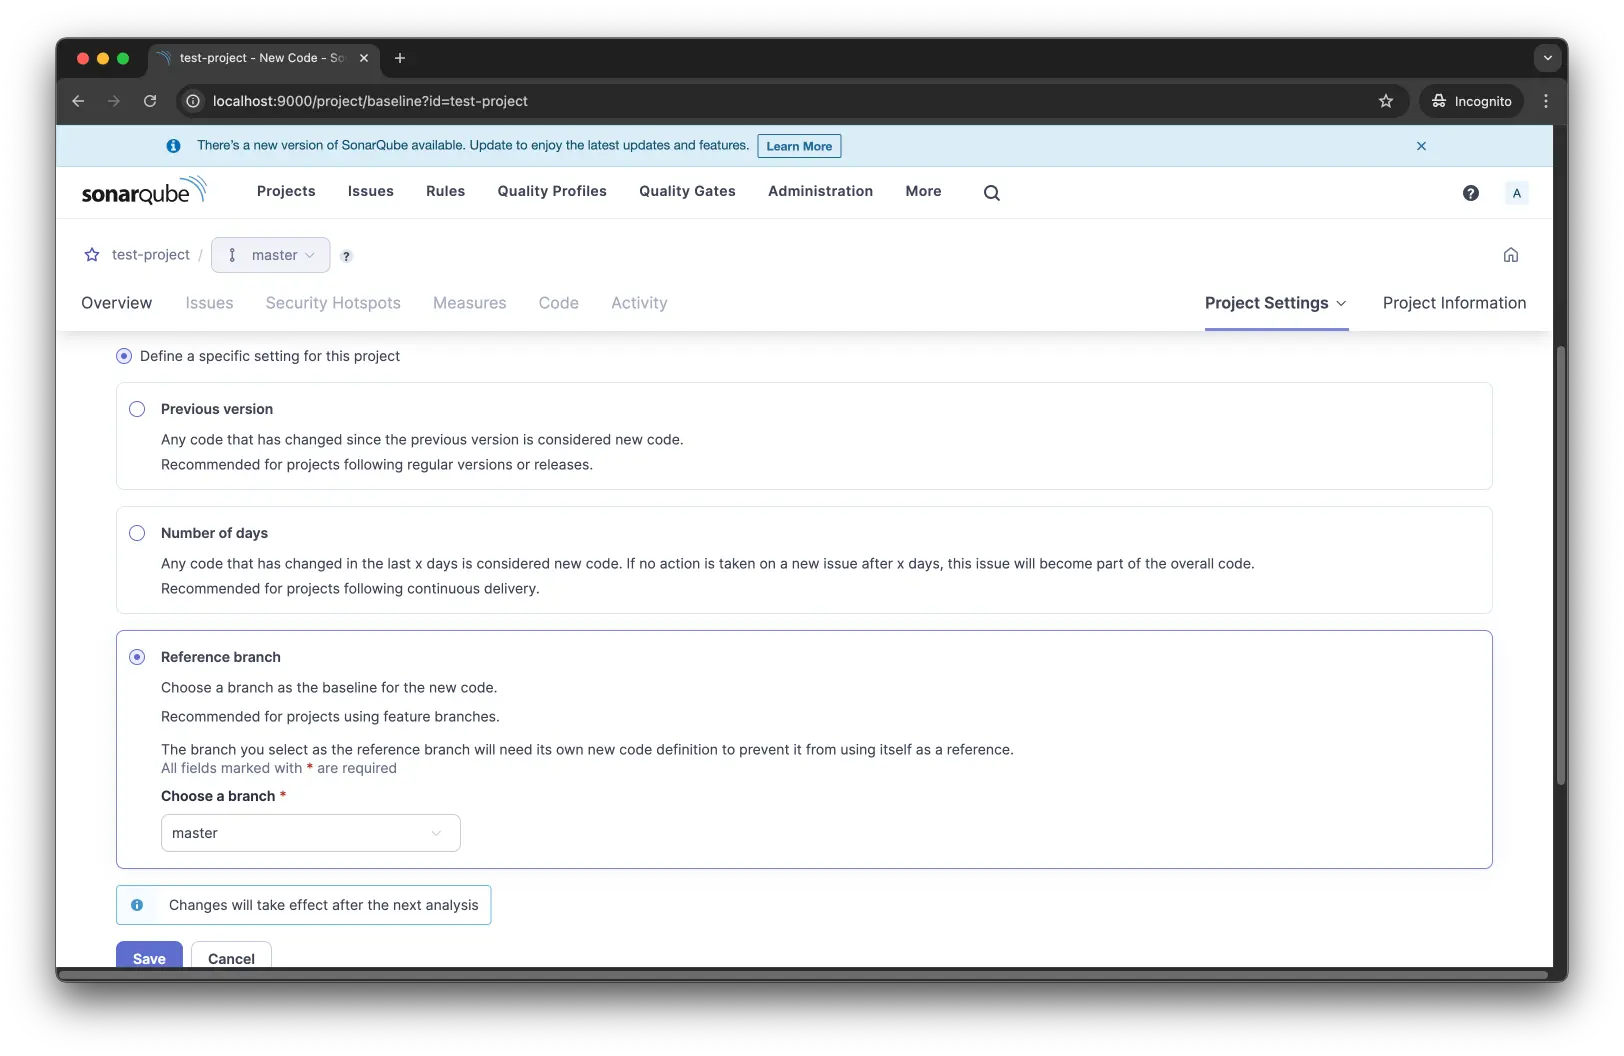
また、MAIN BRANCHの設定は、プロジェクト設定、つまり"Reference branch"だと自分自身を参照してしまうので、個別に"Previous version"を設定します。
サンプルアプリで解析
それでは、実際にブランチ解析を実行してみます。
今回は、sonar-scanning-examplesをForkした下記のリポジトリからsonar-scanner-gradleを利用します。
GitHub - monda00/sonar-scanning-examples: Shows how to use the Scanners
Shows how to use the Scanners. Contribute to monda00/sonar-scanning-examples development by creating an account on GitHub.
まずは、masterブランチで解析を実行します。sonar.branch.nameにmasterを指定して解析を実行します。
1./gradlew build jacocoTestReport sonar \
2  -Dsonar.projectKey=test-project \
3  -Dsonar.projectName='test-project' \
4  -Dsonar.host.url=http://localhost:9000 \
5  -Dsonar.token=sqp_98d3c06a1a297795a2d8521e48b8d07009201d33 \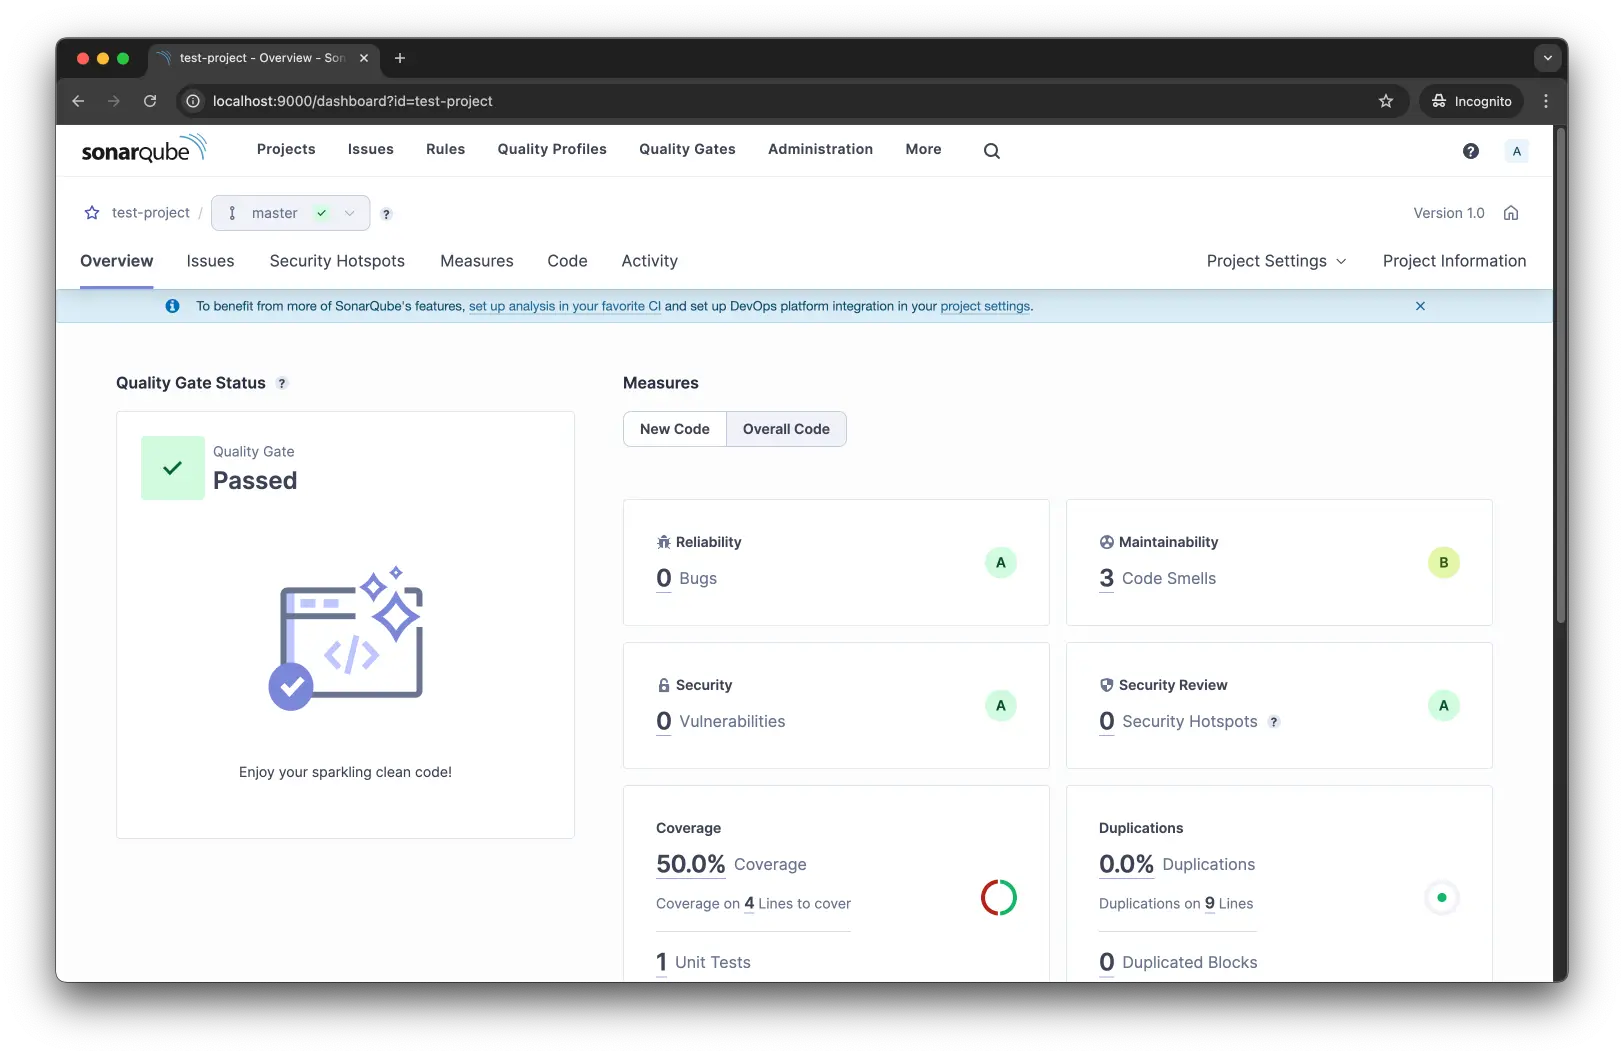
6 -Dsonar.branch.name='master'GUIからもmasterブランチの解析結果が確認できます。
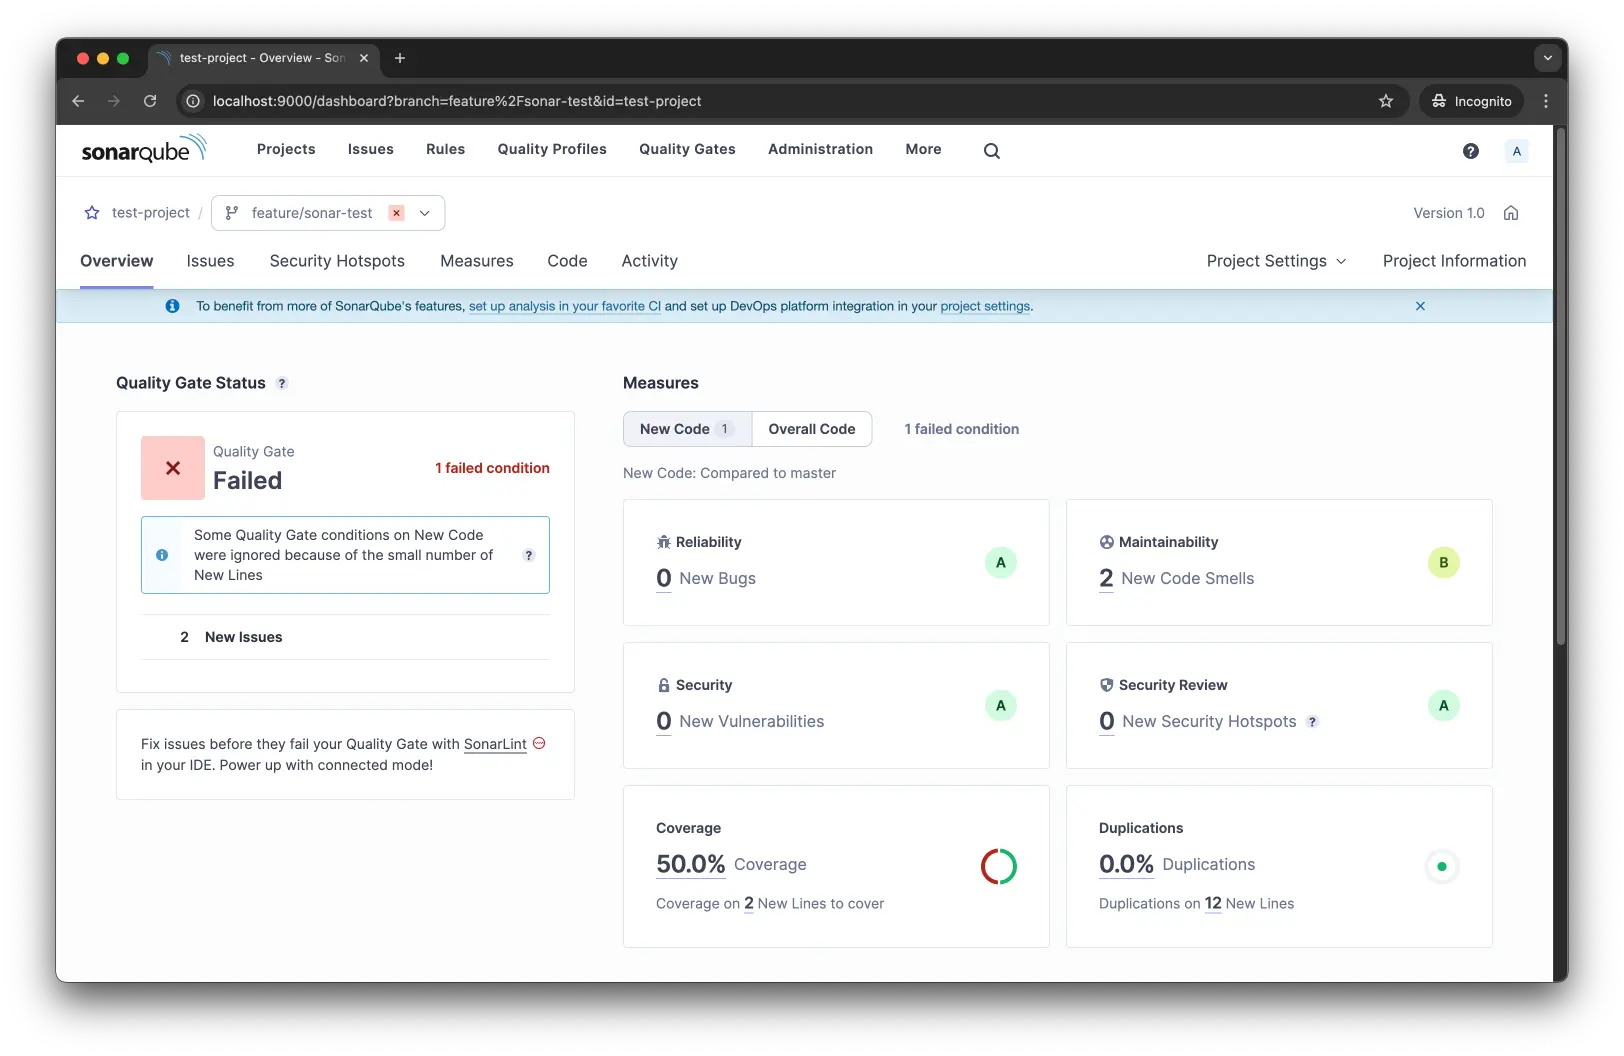
次に、feature/sonar-testブランチで解析を実行します。実行コマンドとしては、sonar.branch.nameを対象のブランチに変更しているだけです。このブランチでは、masterブランチと比べて1commitだけ追加されている状態です。
1./gradlew build jacocoTestReport sonar \
2 -Dsonar.projectKey=test-project \
3 -Dsonar.projectName='test-project' \
4 -Dsonar.host.url=http://localhost:9000 \
5 -Dsonar.token=sqp_98d3c06a1a297795a2d8521e48b8d07009201d33 \
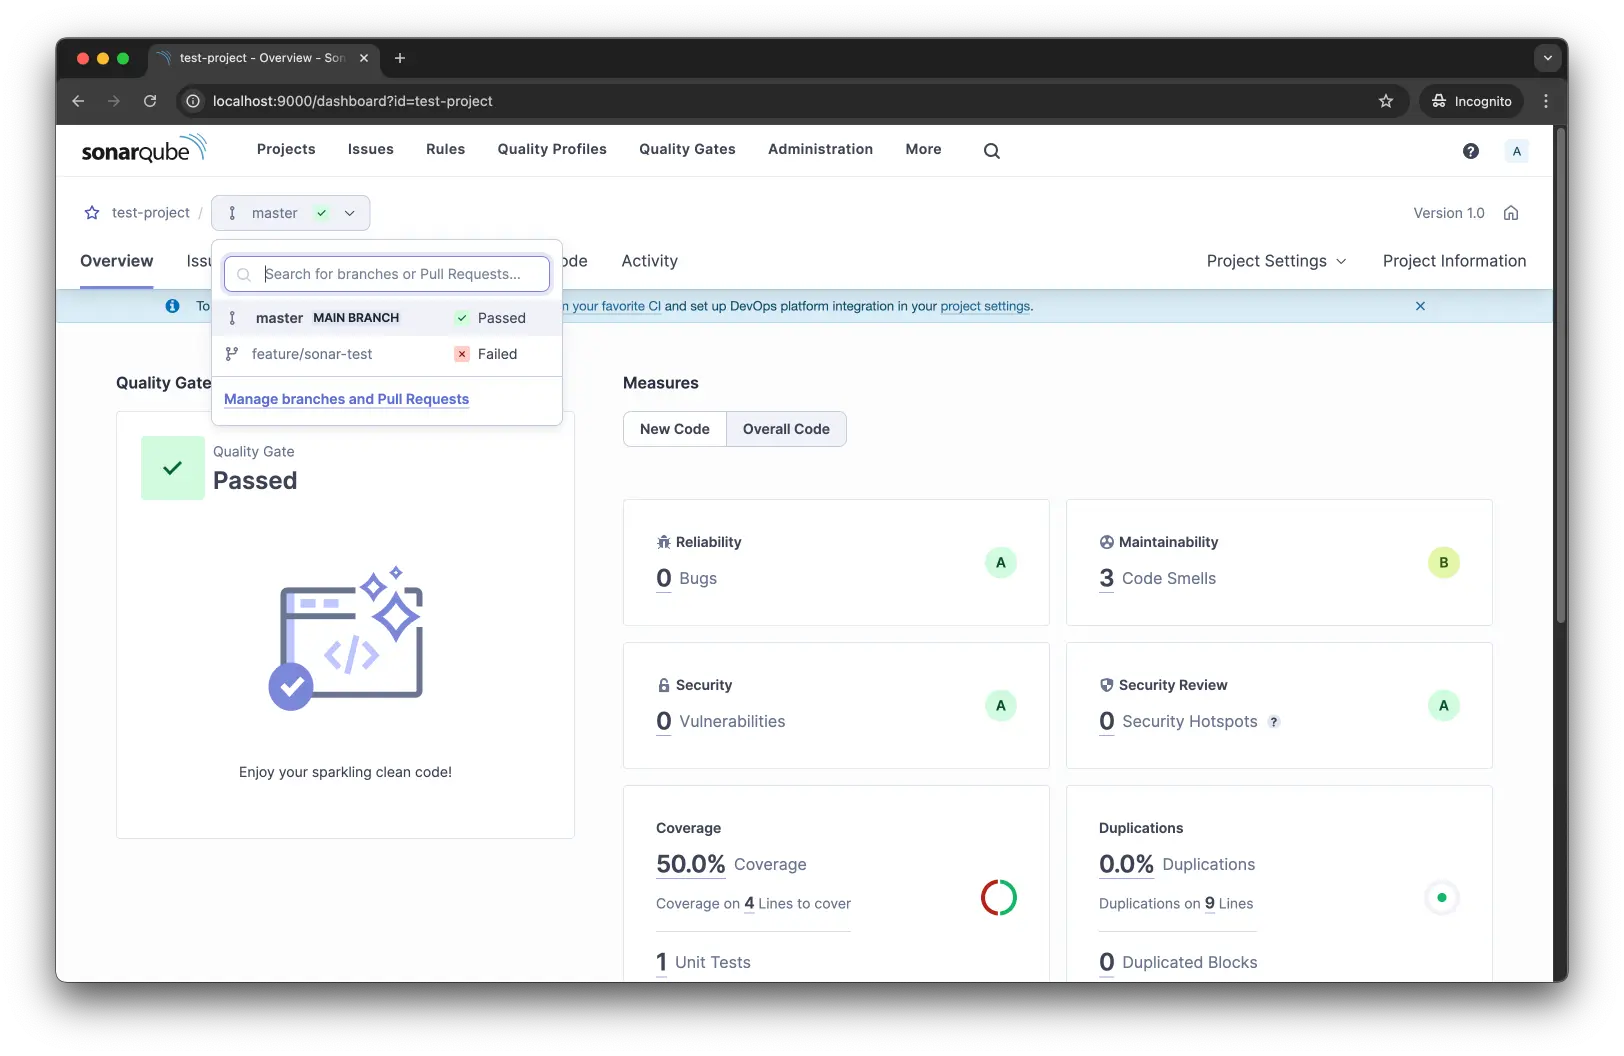
6 -Dsonar.branch.name='feature/sonar-test'GUIから確認すると、解析したブランチの結果が選択できるようになっています。
参考
- mc1arke/sonarqube-community-branch-plugin: A plugin that allows branch analysis and pull request decoration in the Community version of Sonarqube
- Branch analysis
- Pull Request analysis
- SonarSource/sonar-scanning-examples: Shows how to use the Scanners
\ この記事が役に立ったと思ったら、サポートお願いします! /

関連記事

【Git】ブランチ戦略を比較してみた