はじめに
AstroNvimを使って、簡単な設定をしてみたいと思います。
AstroNvimとは
AstroNvimとは、あらかじめプラグインや見た目などがセットアップされたNeovimの設定になります。
これを使うことで、使いやすいように設定されたNeovimをすぐに使うことができます。
GitHub - AstroNvim/AstroNvim: AstroNvim is an aesthetic and feature-rich neovim config that is extensible and easy to use with a great set of plugins
AstroNvim is an aesthetic and feature-rich neovim config that is extensible and easy to use with a great set of plugins - GitHub - AstroNvim/AstroNvim: AstroNvim is an aesthetic and feature-rich n...
インストール
AstroNvimは結局は設定ファイルの集まりなので、まずはNeovimとフォントとして使われるNerd Fontsが必要になります。
もしすでにNeovimを使っている場合は、今ある設定ファイルでバックアップを作成しておきます。
1mv ~/.config/nvim ~/.config/nvim.bak
2mv ~/.local/share/nvim ~/.local/share/nvim.bak
3mv ~/.local/state/nvim ~/.local/state/nvim.bak
4mv ~/.cache/nvim ~/.cache/nvim.bak
Neovimの設定ファイルのディレクトリにAstroNvimの設定ファイルたちをクローンします。
1git clone --depth 1 https://github.com/AstroNvim/AstroNvim ~/.config/nvim
2nvim
これでAstroNvimを使い始めることができます。
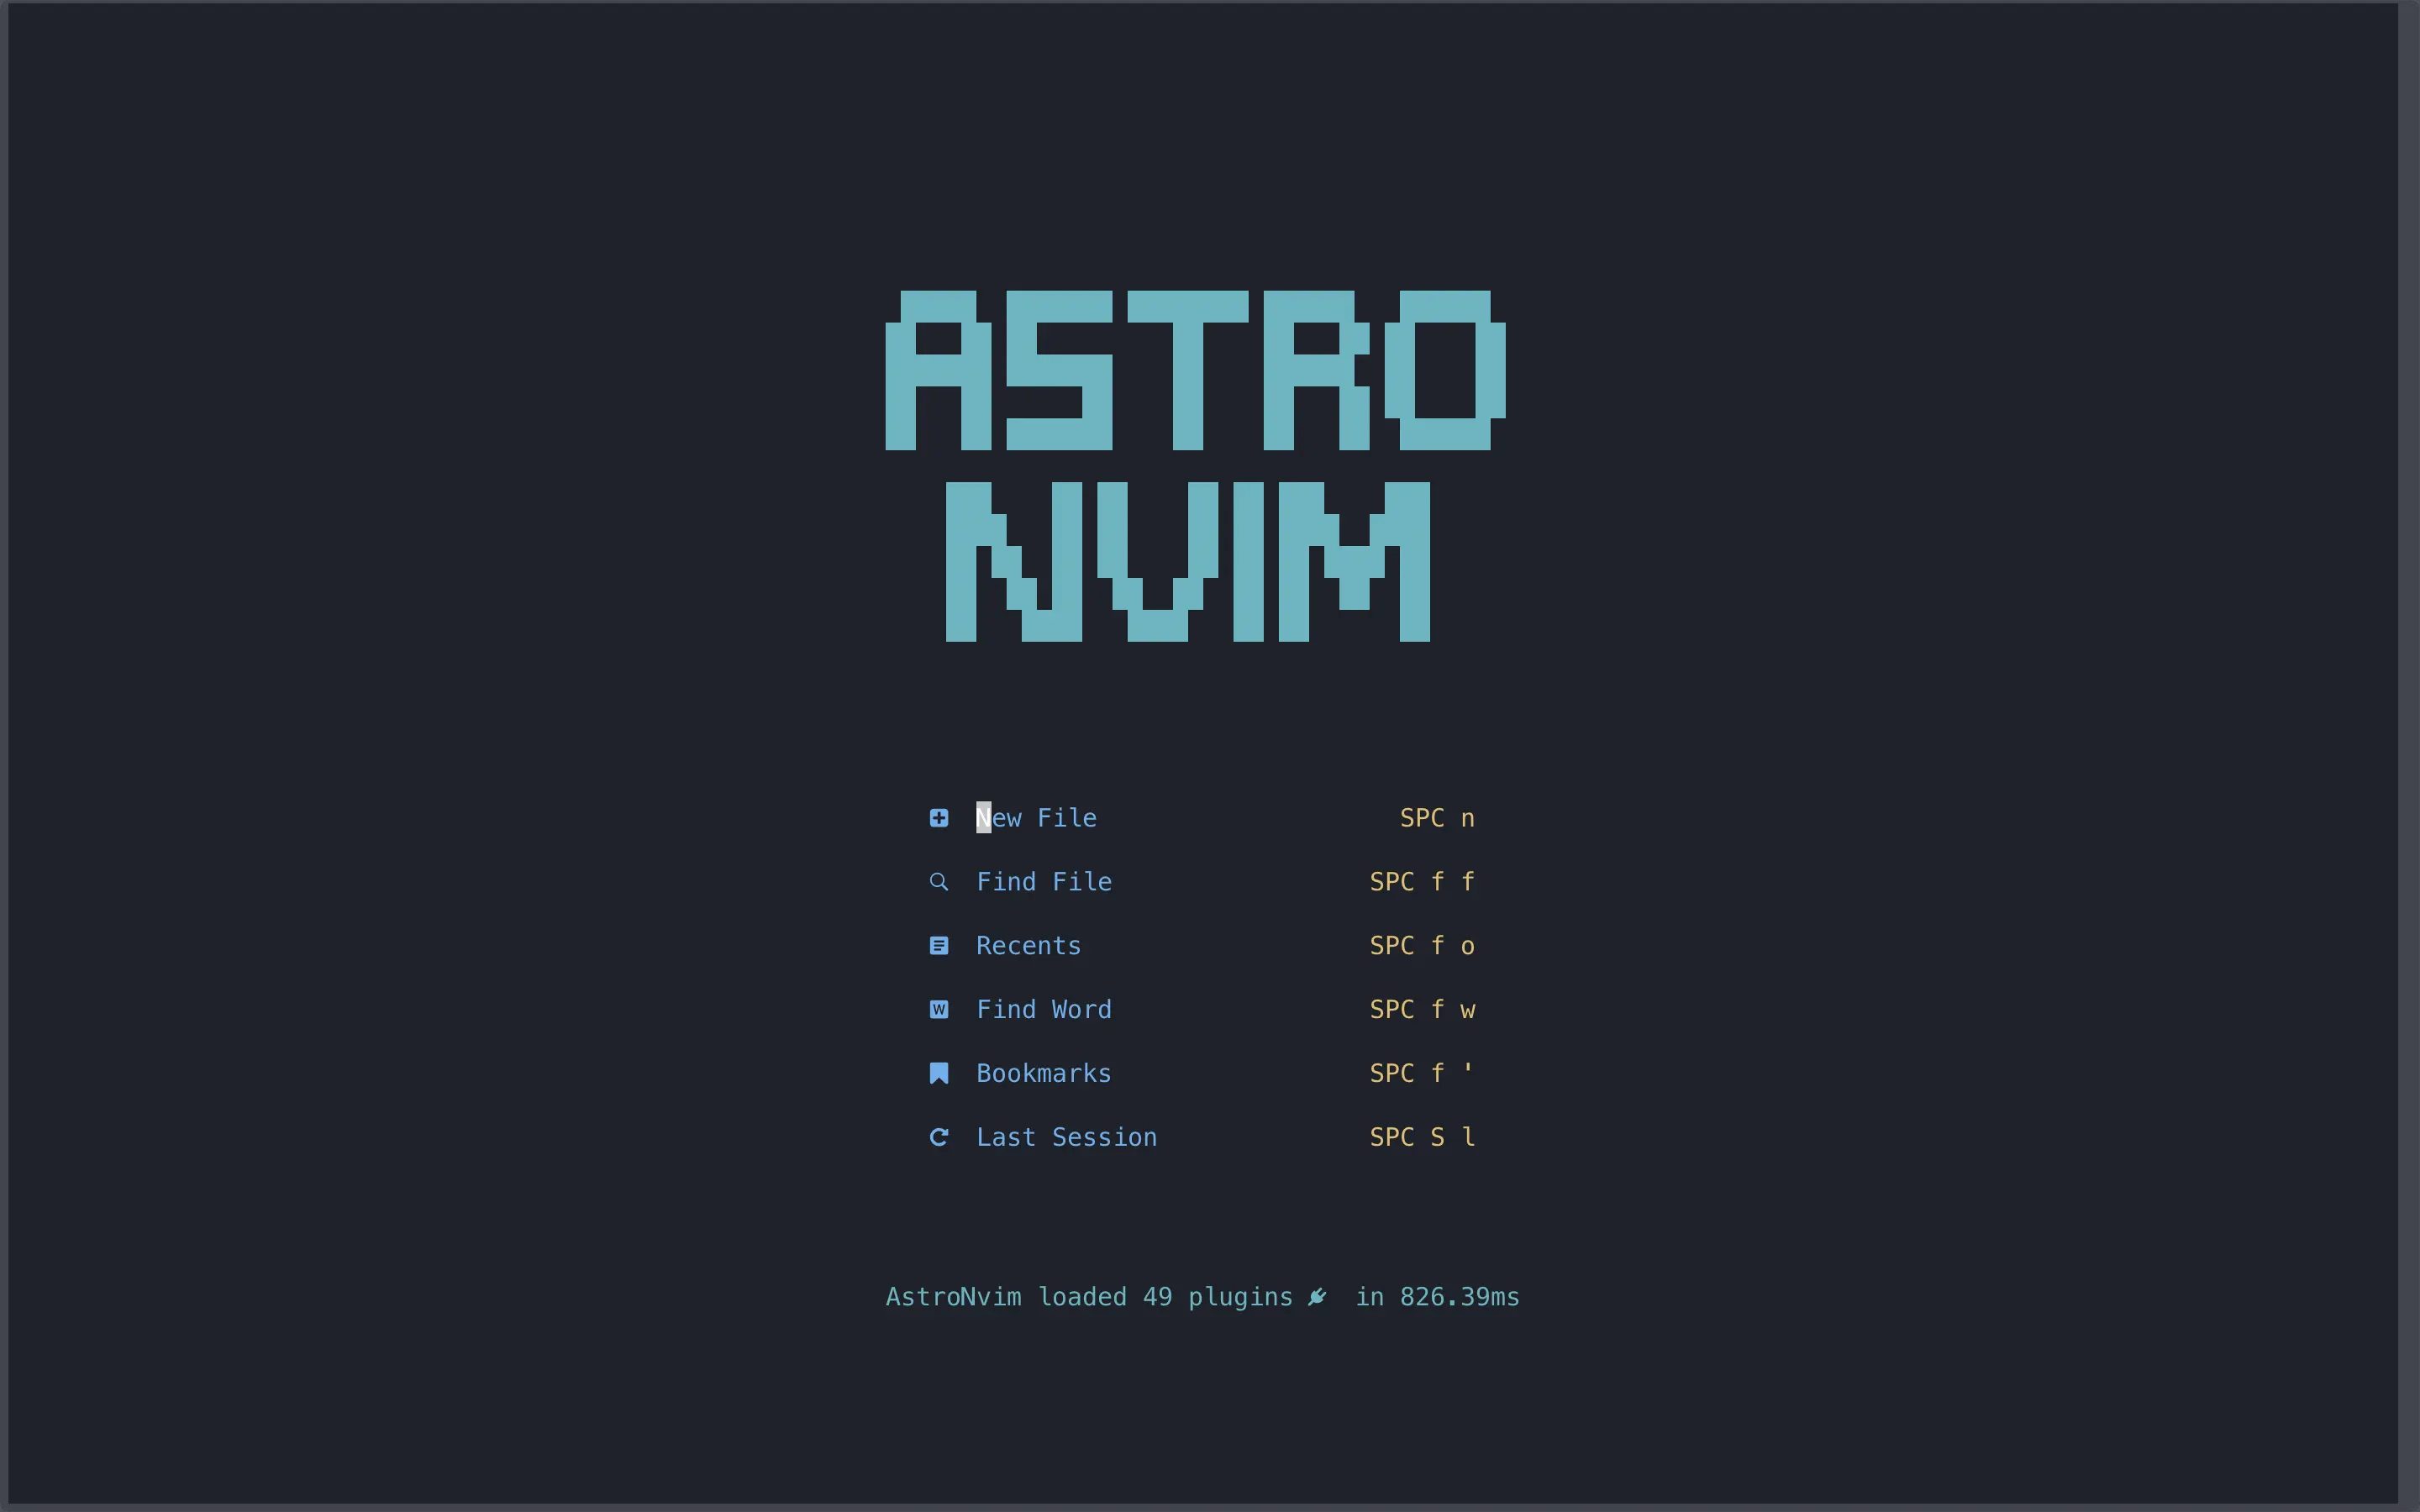
基本的な使い方
基本的な使い方やデフォルトのキーマッピングは下記のドキュメントにまとまっています。
unknown link unknown link設定方法
プラグインの管理はlazy.nvimを使っているので、下記のコマンドでプラグインのアップデートができます。
1:Lazy check1:Lazy update下記のコマンドで指定したLSPやLanguage Parser、デバッガーをインストールできます。
1:LspInstall1:TSInstall1:DapInstallAstroNvimの設定を変更したい場合は、~/.config/nvim/lua/userのディレクトリを作成してその中に設定ファイルを作成します。userディレクトリ配下のファイルはテンプレートが用意されているのでそちらを使うことができます。
GitHub - AstroNvim/user_example: An example user configuration with a split up structure
An example user configuration with a split up structure - AstroNvim/user_example
私の場合は、とりあえずuser/options.lusにあるrelativenumber=falseにしました。
1-- set vim options here (vim.<first_key>.<second_key> = value)
2return {
3  opt = {
4    -- set to true or false etc.
5    relativenumber = false, -- sets vim.opt.relativenumber
6    number = true,          -- sets vim.opt.number
7    spell = false,          -- sets vim.opt.spell
8    signcolumn = "auto",    -- sets vim.opt.signcolumn to auto
9    wrap = true,           -- sets vim.opt.wrap
10  },
11
12...
また、dotfilesを用意している場合はシンボリックリンクを貼れば、dotfiles内で管理できます。
1ln -s ~/dotfiles/astronvim ~/.config/nvim/lua/userまだまだプラグインをカスタマイズしたりできそうなので、徐々になれていきながら、カスタマイズしていきたいと思います。
luaファイルでエラーが出た場合の対処法
設定ファイルがluaで書かれていますが、インストールしただけだと下記のようなエラーが出てきます。
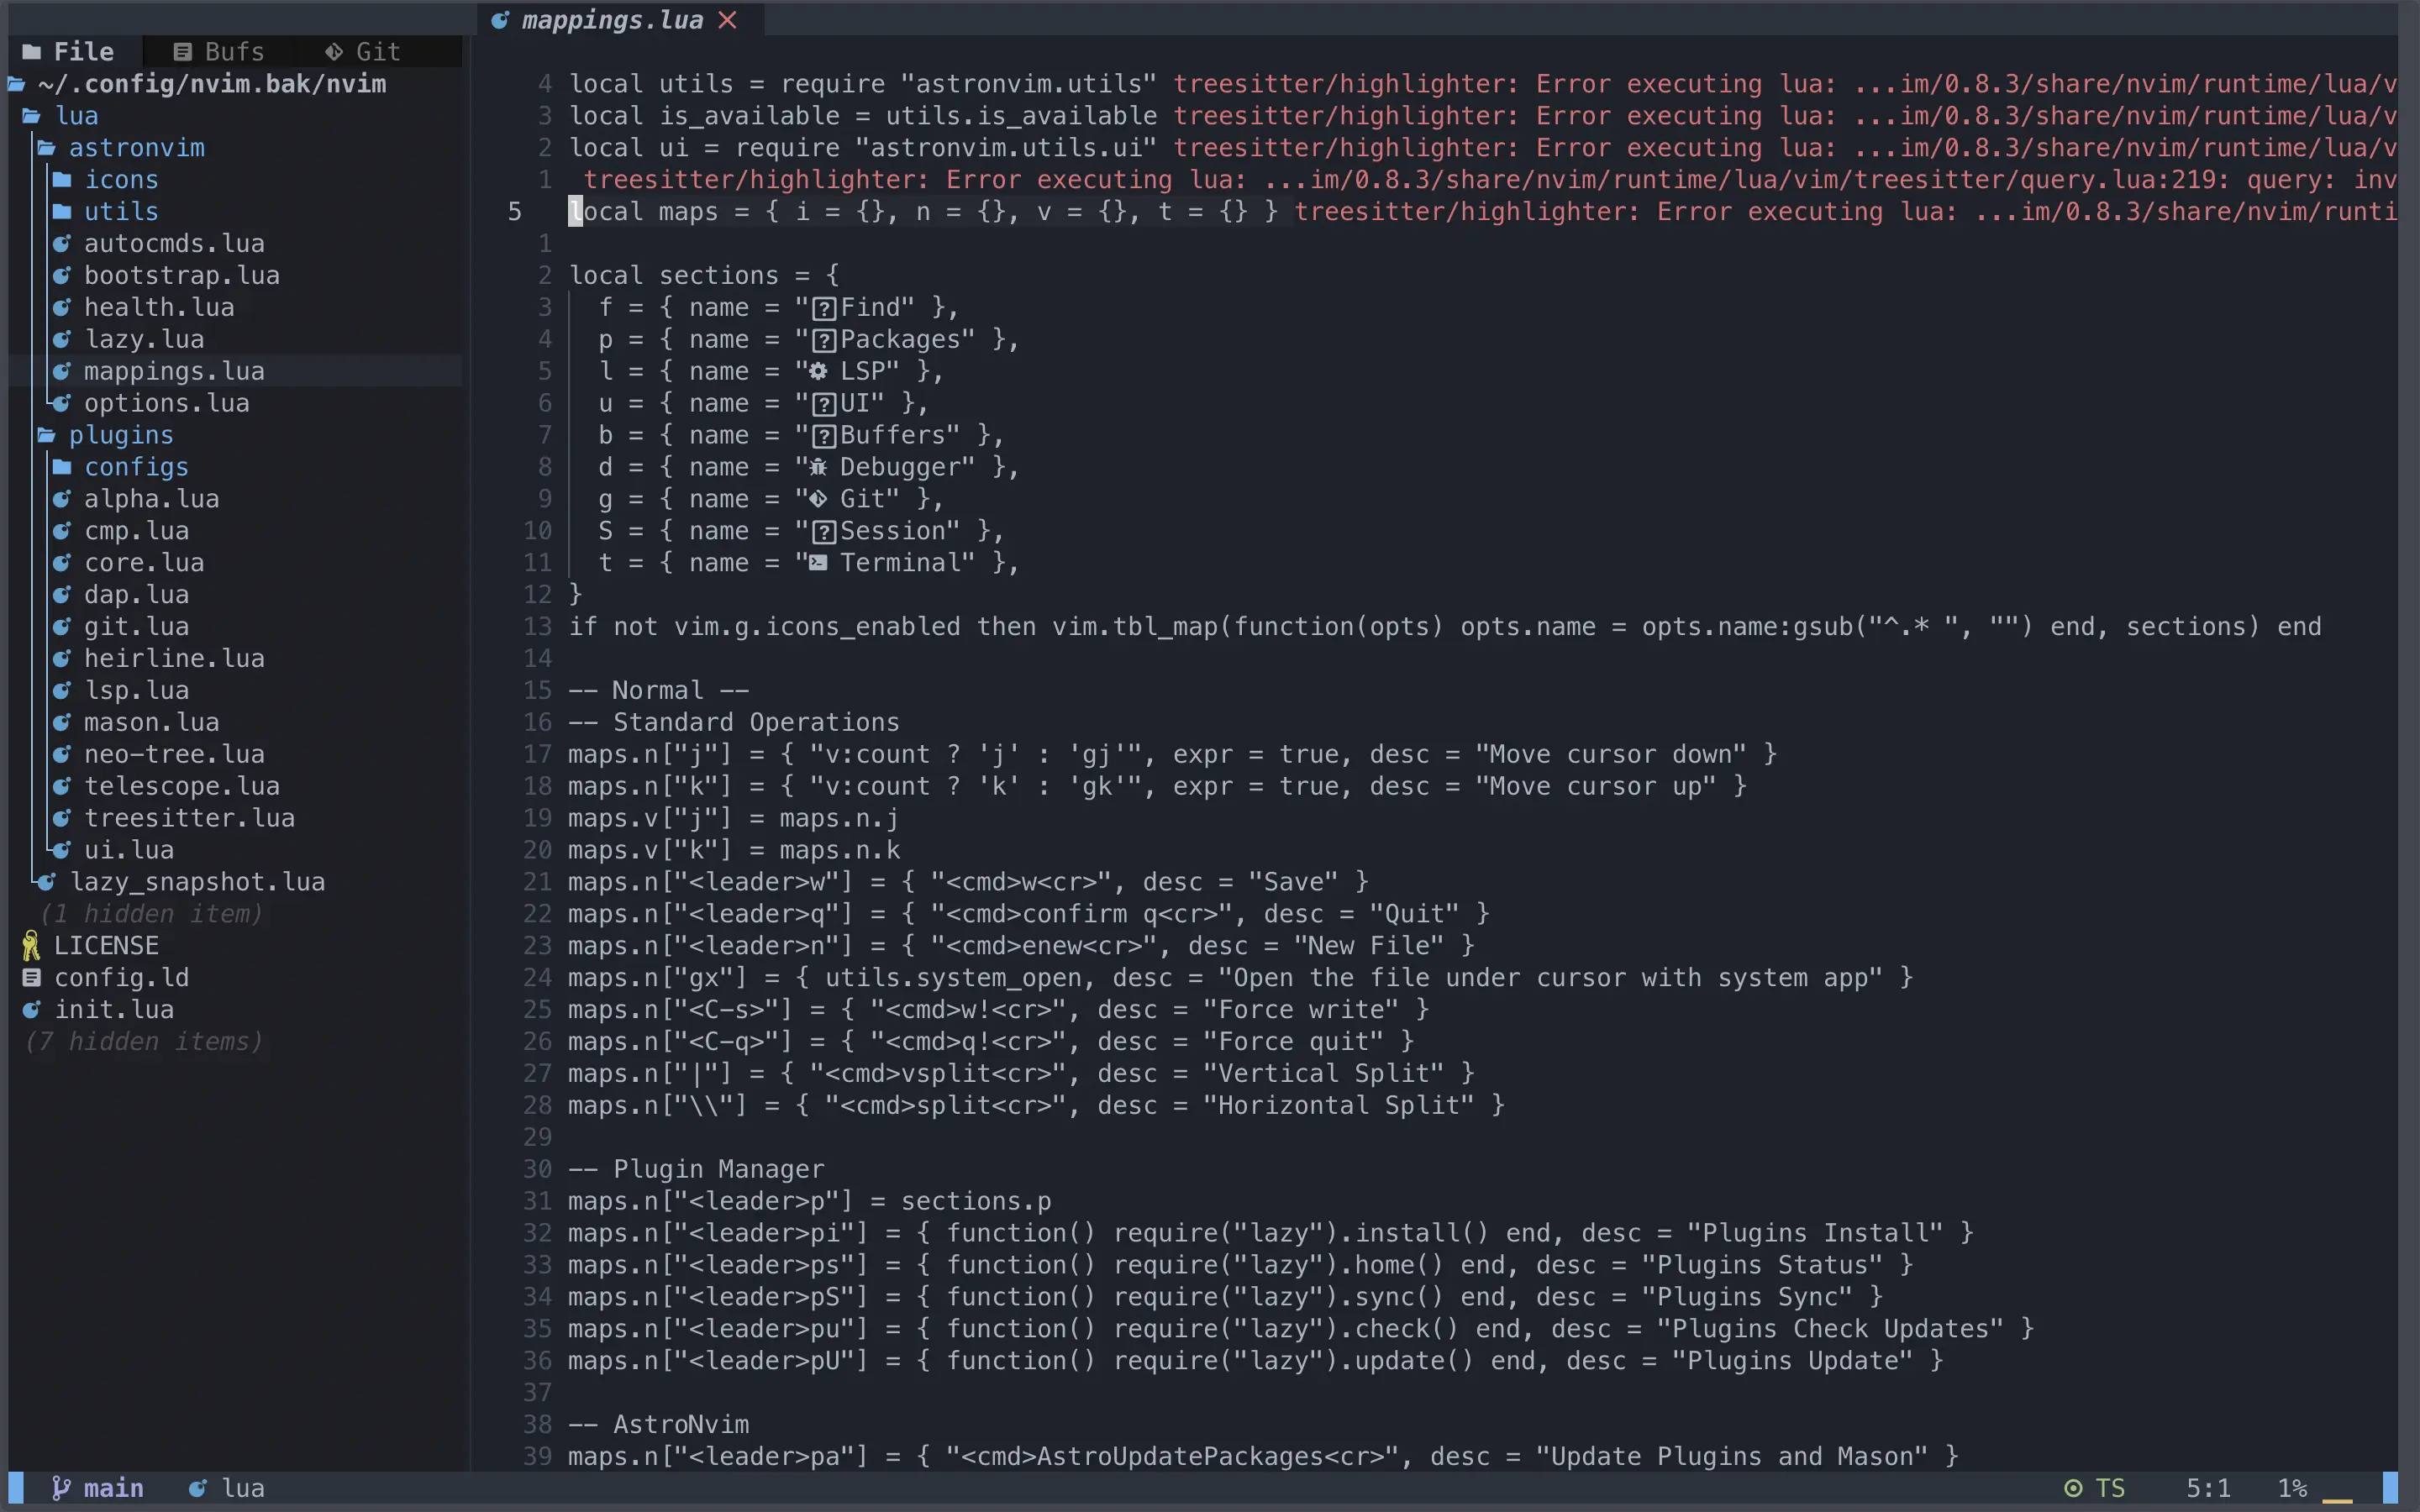
下記のコマンドでLanguage Parserを入れてあげることで解決できるかと思います。
1:TSInstall lua参考
- AstroNvim/AstroNvim: AstroNvim is an aesthetic and feature-rich neovim config that is extensible and easy to use with a great set of plugins
- AstroNvim/user_example: An example user configuration with a split up structure
- Home - Neovim
- neovim/neovim: Vim-fork focused on extensibility and usability
- ryanoasis/nerd-fonts: Iconic font aggregator, collection, & patcher. 3,600+ icons, 50+ patched fonts: Hack, Source Code Pro, more. Glyph collections: Font Awesome, Material Design Icons, Octicons, & more
- no syntax highlighting with *.lua files + treesitter error · Issue #1673 · AstroNvim/AstroNvim
- folke/lazy.nvim: 💤 A modern plugin manager for Neovim
\ この記事が役に立ったと思ったら、サポートお願いします! /